Telescopes
Celestron NexStar 130 SLT vs StarSense Explorer 130DX: Which 130mm Reflector Should You Buy?
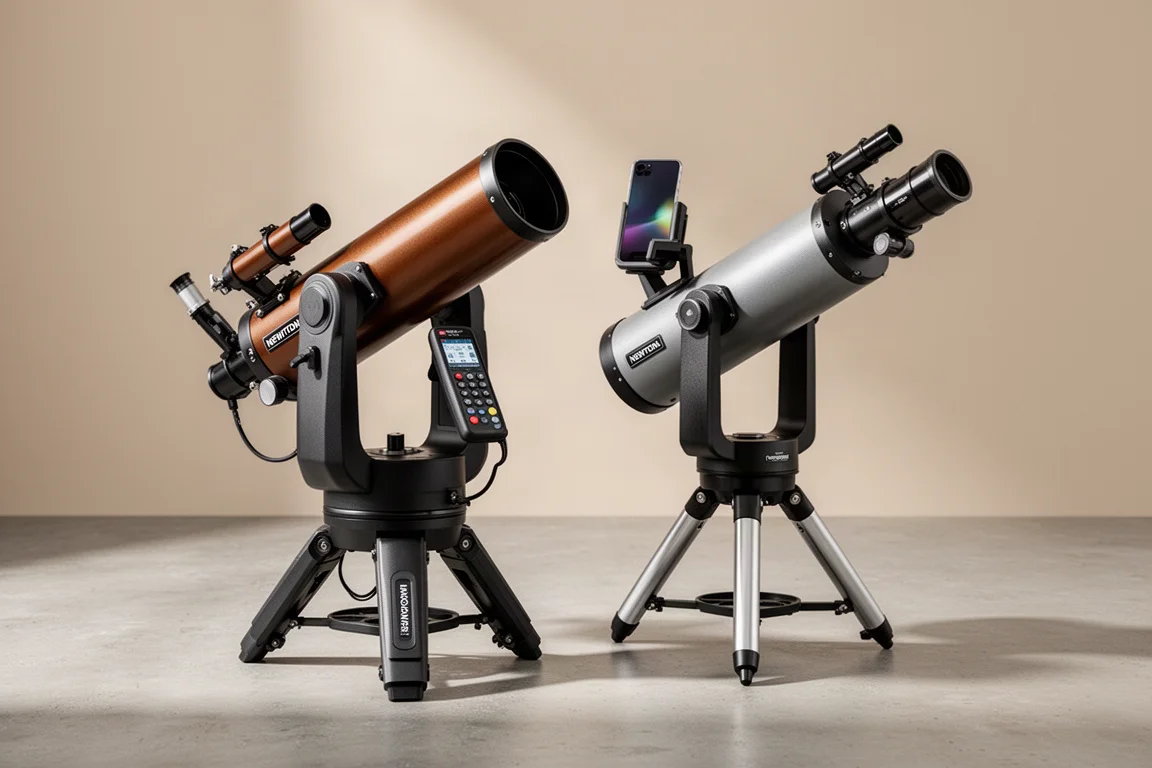
Two five-inch Newtonian reflectors with very different mounts. We compare the go-to NexStar 130 SLT with the phone-assisted StarSense Explorer 130DX.
Introduction
Celestron’s five-inch Newtonian reflectors come in two flavors: the motorized NexStar 130 SLT and the phone-assisted StarSense Explorer 130DX. Both share the same 130mm aperture class, but the mounts make them two very different telescopes to own and operate. This comparison covers how each system works, what each is best at, and where the trade-offs fall so you can pick the right one for your observing style.
Why a 130mm Newtonian Makes Sense
The 130 in both model names refers to the aperture in millimeters, which is simply the diameter of the big mirror inside the telescope. Mid-sized Newtonian reflectors like these deliver crisp images of the Moon and planets, with little to no chromatic aberration on bright objects.
Newtonians also tend to give you more aperture per dollar. Increase the aperture by 40 percent and you double the light the telescope collects, so stars appear brighter, more stars come into view, and more deep-sky objects fall within reach. Larger apertures also bring higher resolution, which is especially noticeable on the Moon and planets.
The trade-off is mechanical: Newtonians have a lot of parts, so there is simply more that can go wrong compared to a refractor. Telescopes like these can be temperamental, and mirrors can even arrive misaligned, so a little patience with setup is part of the package.
NexStar 130 SLT: Motorized Go-To Convenience
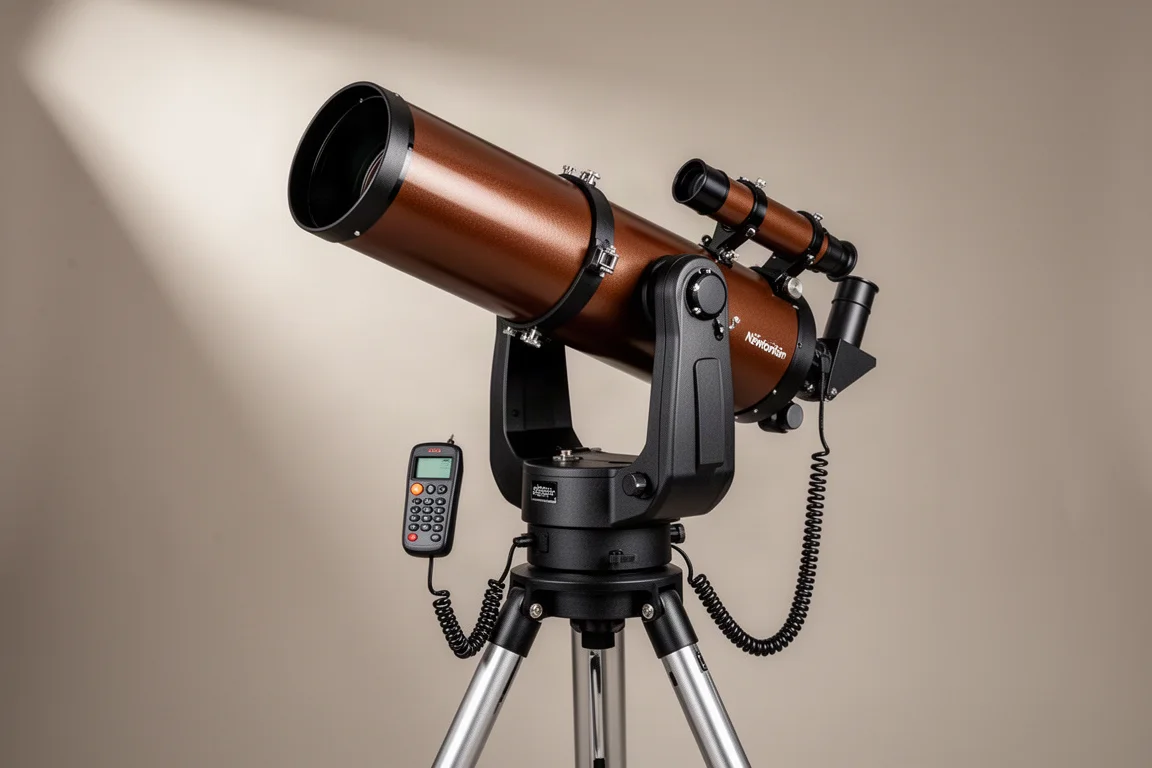
The NexStar mount is a motorized go-to mount with two jobs: slewing directly to targets in the sky and tracking those objects as they move across the sky. That combination makes it especially pleasant for observing with groups, since you are not constantly re-aiming the telescope between each person’s turn at the eyepiece.
Most people drive it with the hand controller, but with extra adapters the telescope can be plugged into a computer or guided from your phone. A Wi-Fi adapter such as the Celestron SkyPortal lets you control the telescope from your phone: after the alignment process, you point your phone at the sky, select an object from the star map, and the telescope slews directly to that target.
The catch is the alignment process itself. It can be time consuming and finicky, it sometimes fails altogether, and if the telescope gets bumped or moved you may have to start the alignment over.
StarSense Explorer 130DX: App-Assisted Manual Tracking
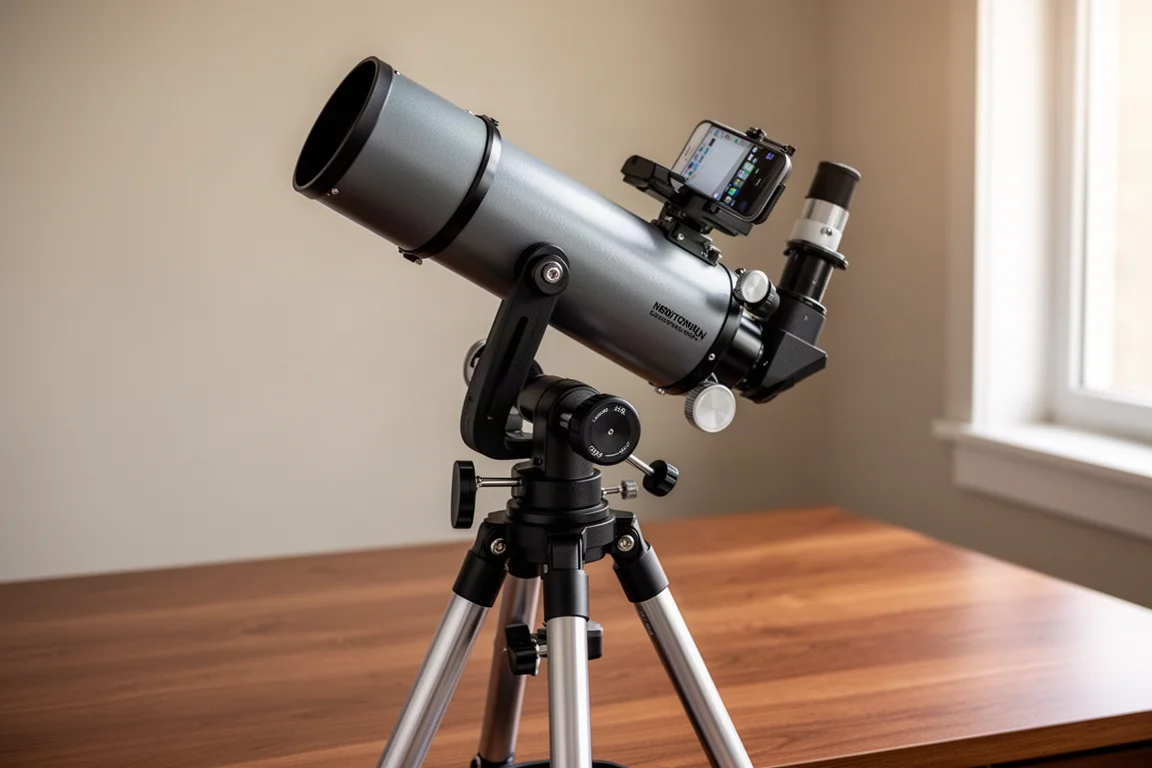
The StarSense Explorer system works completely differently. It uses your phone’s camera to orient the telescope to the sky, and then you manually push the telescope to each target, using slow-motion controls to track objects as they drift across the field of view.
Setup is about as effortless as it gets: open the app and attach the phone to the StarSense dock. If you move the telescope to a different part of the yard, the app automatically re-aligns itself, and the telescope with it.
The downside is that it is still a manual process, so your arms do the slewing. And if your budget is limited, some of that money might be better spent on a larger telescope where you find objects using your finder without electronic assistance. If you go that route, a good star map with a bullseye marking each target helps you align your finder to the precise location, which is exactly how many observers earn a Messier certificate, often with electronic assistance switched off at their astronomy club’s request.
Collimation: The One Maintenance Task You Cannot Skip
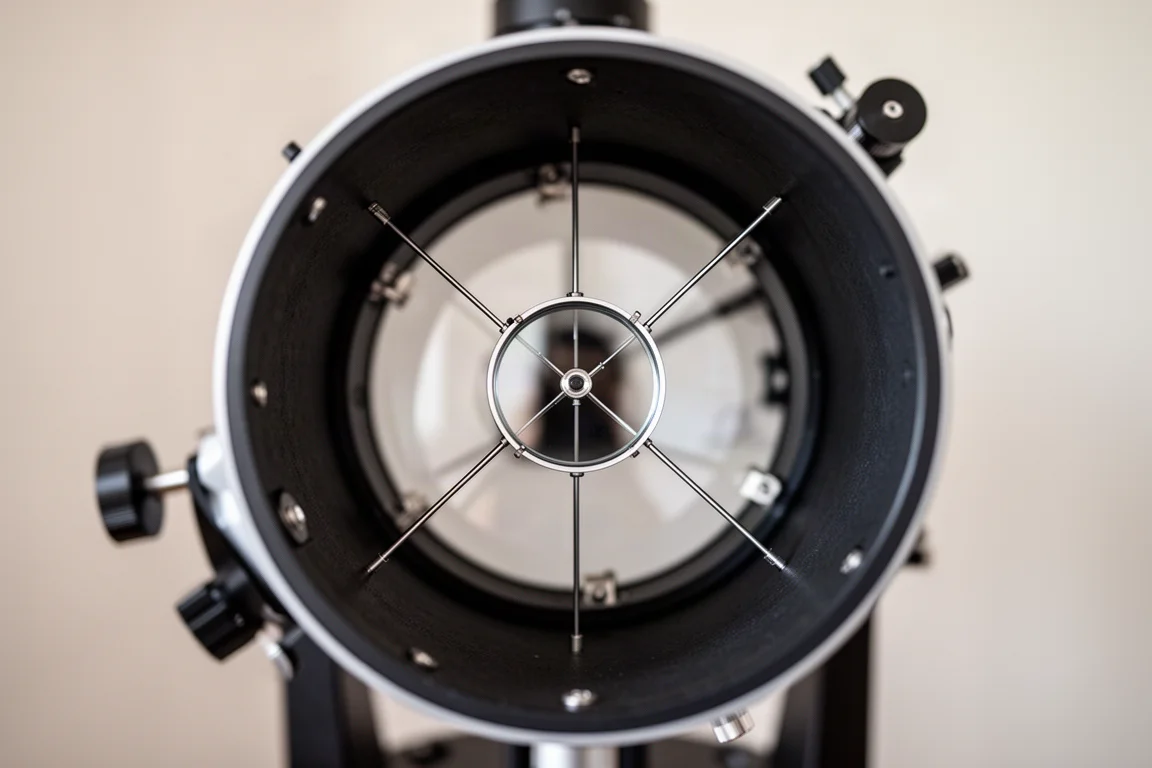
With any Newtonian telescope, check the collimation before you get started. This confirms the mirrors are in good condition and precisely aligned. The simplest check is with an eyepiece cap that has a small hole in the middle: look in through the focuser and first confirm the reflection of the primary mirror is centered in the secondary mirror, using the mirror clips as a guide so they appear evenly spaced around the field of view. Then make sure the spider arms appear of equal length. If either check is off, the telescope needs collimation.
A laser collimator, available for around thirty dollars, makes the job straightforward. Turn on the laser, place it in the eyepiece holder, and adjust the three secondary screws with an Allen wrench until the beam is centered on the primary mirror. Then center the beam in the target on the collimator itself. At the back of the telescope, loosen the three mirror locks, make the required adjustments with the three knobs, and once the beam is centered, re-tighten the mirror locks. The telescope is then collimated and ready.
Astrophotography: What Is Realistic on These Mounts
Both telescopes are designed for visual astronomy only. Neither the NexStar nor the StarSense version is designed for astrophotography, though that does not stop curious observers from trying. Be warned: astrophotography is incredibly frustrating and remarkably addictive at the same time, and if you catch the bug it can become expensive.
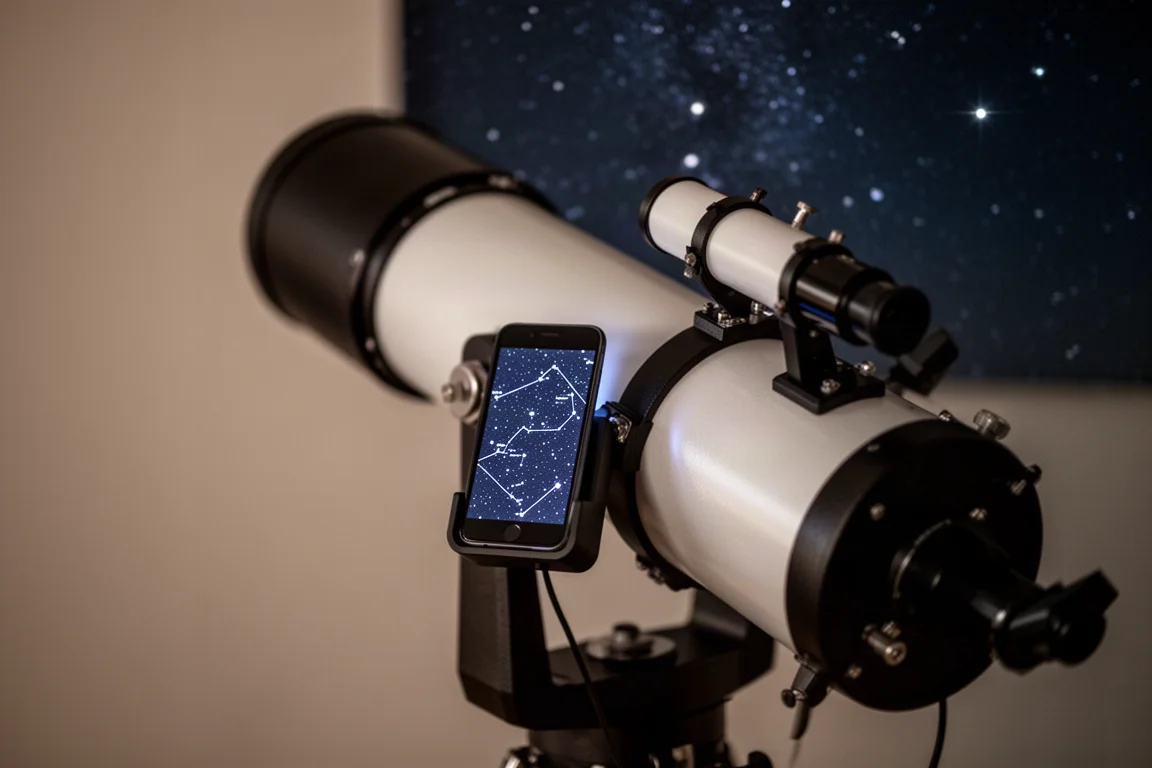
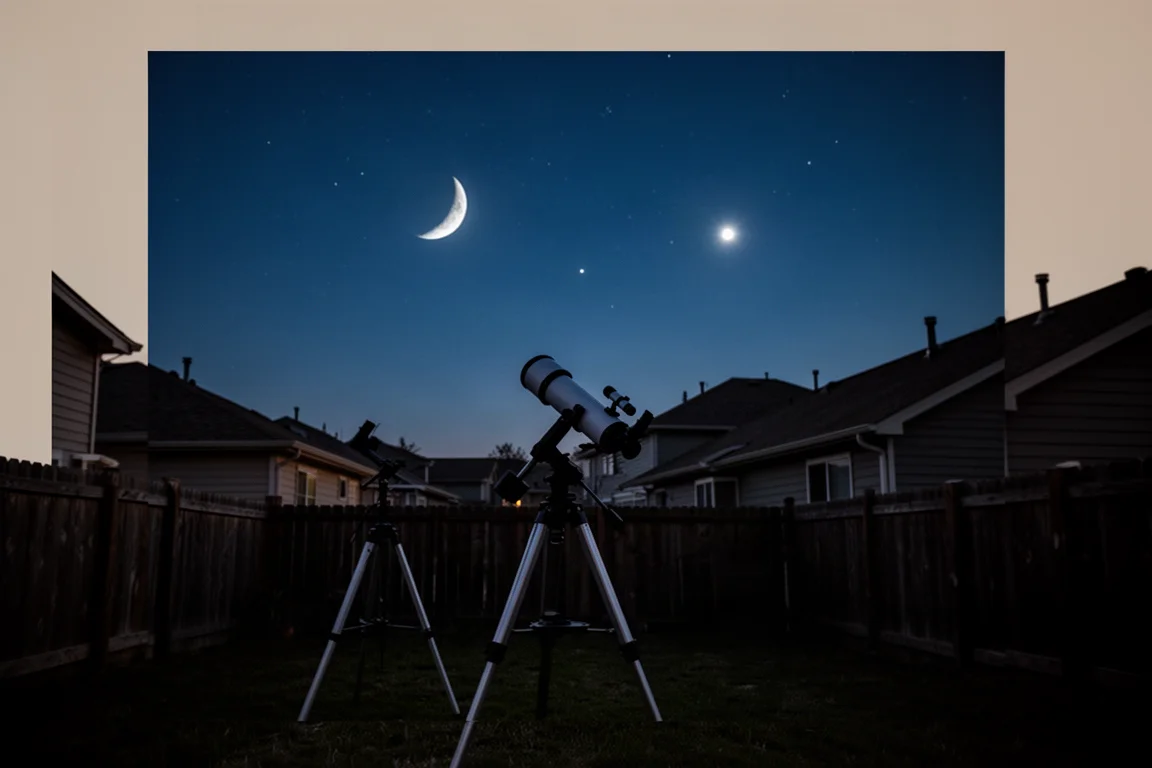
The NexStar mount is not really capable of handling much weight, so attaching a DSLR is not advisable, but an iPhone or a small astronomy camera should be fine. The tracking is the big difference: with a manual StarSense-style mount, a planet can remain in the field of view for no more than a few seconds, while the NexStar’s tracking keeps it in frame. Even so, you cannot safely take long exposures, because the image rotates within the frame over time, a phenomenon called field rotation.
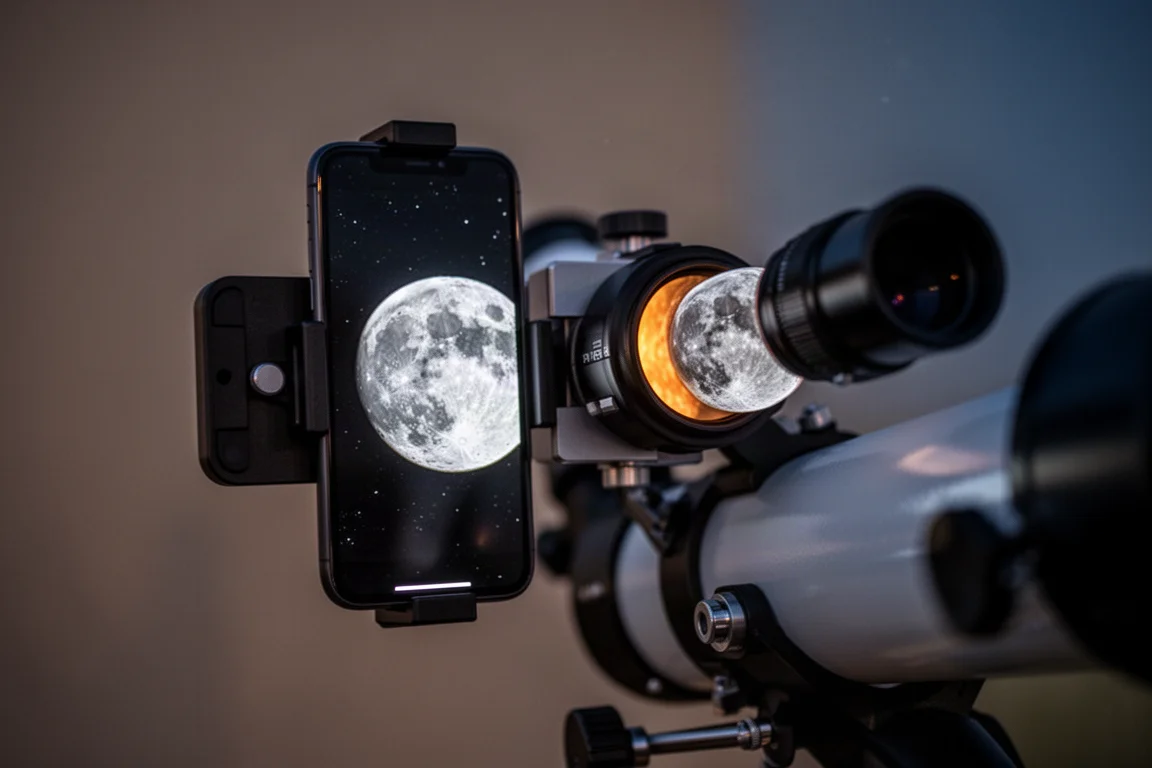
For lunar shots on either mount, a smartphone with an eyepiece adapter works well. For the planets, a dedicated planetary camera can be a lot of fun, and tools that streamline acquisition and processing make the whole workflow much more efficient.
Which One Should You Buy?
If you want the telescope to find and follow targets for you, especially for group observing sessions, the NexStar 130 SLT and its go-to mount are the better fit, provided you accept the occasionally fussy alignment routine. If you prefer near-instant setup and are happy to push the telescope yourself with your phone guiding the way, the StarSense Explorer 130DX is the smoother experience. And if budget is the deciding factor, remember that a bigger manual telescope can beat a smaller assisted one when you know how to use your finder.
Conclusion
Both telescopes share the same optical strengths: crisp Moon and planet views, strong light gathering for a five-inch reflector, and good resolution for the class. The real decision is the mount. Choose the NexStar 130 SLT for automated slewing and tracking, or the StarSense Explorer 130DX for effortless app-guided manual observing. Whichever you pick, keep it collimated, keep expectations realistic for astrophotography, and enjoy the view.
Further reading
Related Reviews

Telescopes
Sightron SJ75 UF and Sky-Watcher HS125: Two Telescopes Worth Watching
A look at two notable telescopes from a recent camera and optics expo: a sharp new astrograph from Sightron Japan and a compact fast reflector from Sky-Watcher.

Telescopes
SV503 102ED Review: A Budget 102mm Refractor That Surprises
The SV503 102ED is an affordable 102mm doublet refractor that delivers surprisingly decent star shapes and a smooth focuser, despite some chromatic aberration and light falloff.

Telescopes
SVBony MK127 Review: A Compact Maksutov-Cassegrain That Surprises
The SVBony MK127 is a 127mm Maksutov-Cassegrain telescope with a unique 0.65x reducer, making it a versatile option for visual astronomy and even some deep-sky imaging.