Tech Hardware
CaribouLite Raspberry Pi SDR Setup: Building a Portable Software Defined Radio
A practical guide to installing and using CaribouLite, an FPGA-based software defined radio hat for Raspberry Pi, including network streaming and antenna considerations.
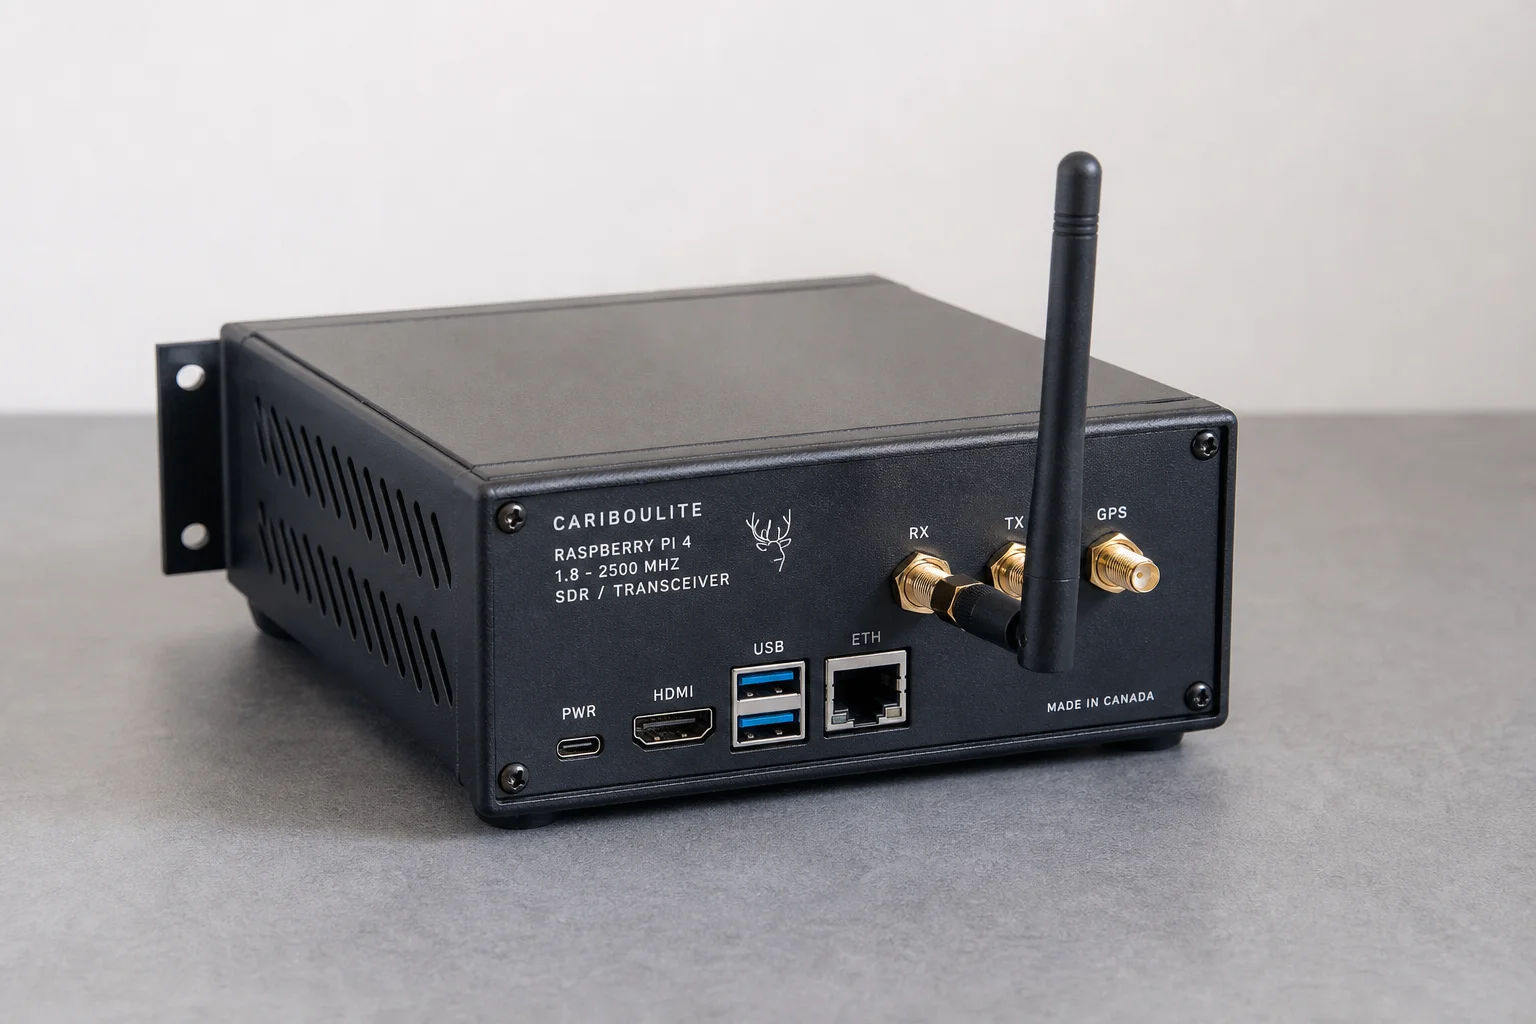
Introduction
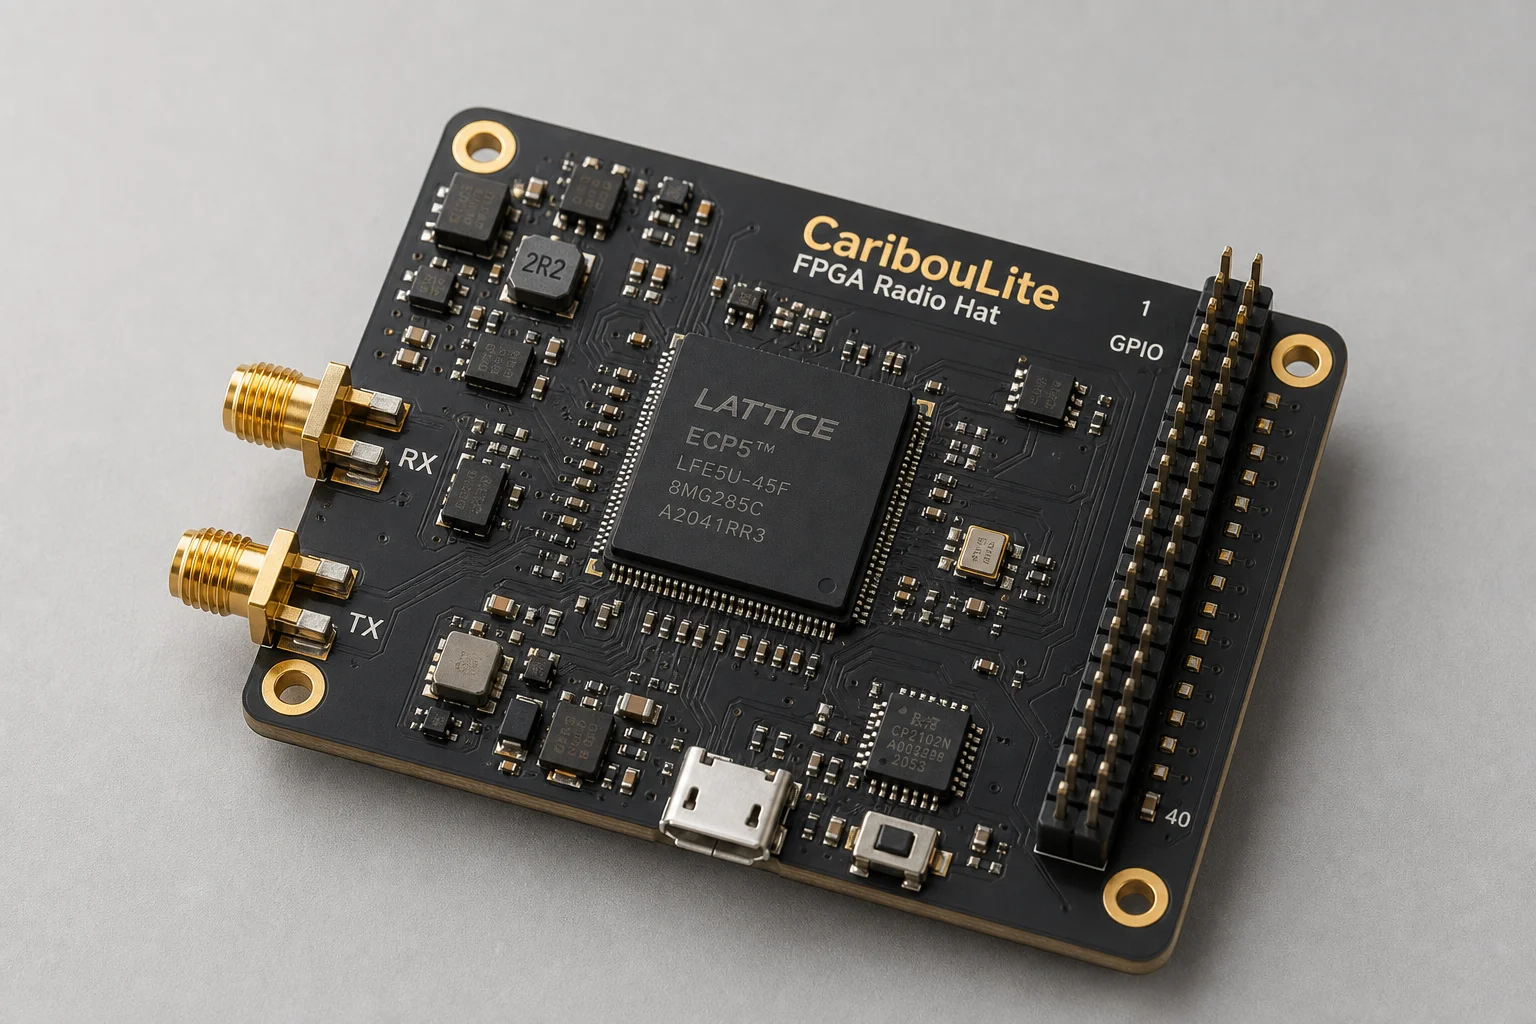
Software defined radio opens up the invisible world of radio frequency communications. CaribouLite is a compact FPGA-based radio hat for Raspberry Pi that lets you tune frequencies from 30 MHz to 6 GHz, scanning at 4 million times per second. Unlike cheaper alternatives, it uses an undocumented secondary memory interface on the Pi to stream massive amounts of data, making it a genuinely capable tool for exploring the radio spectrum.
Hardware Requirements and Compatibility
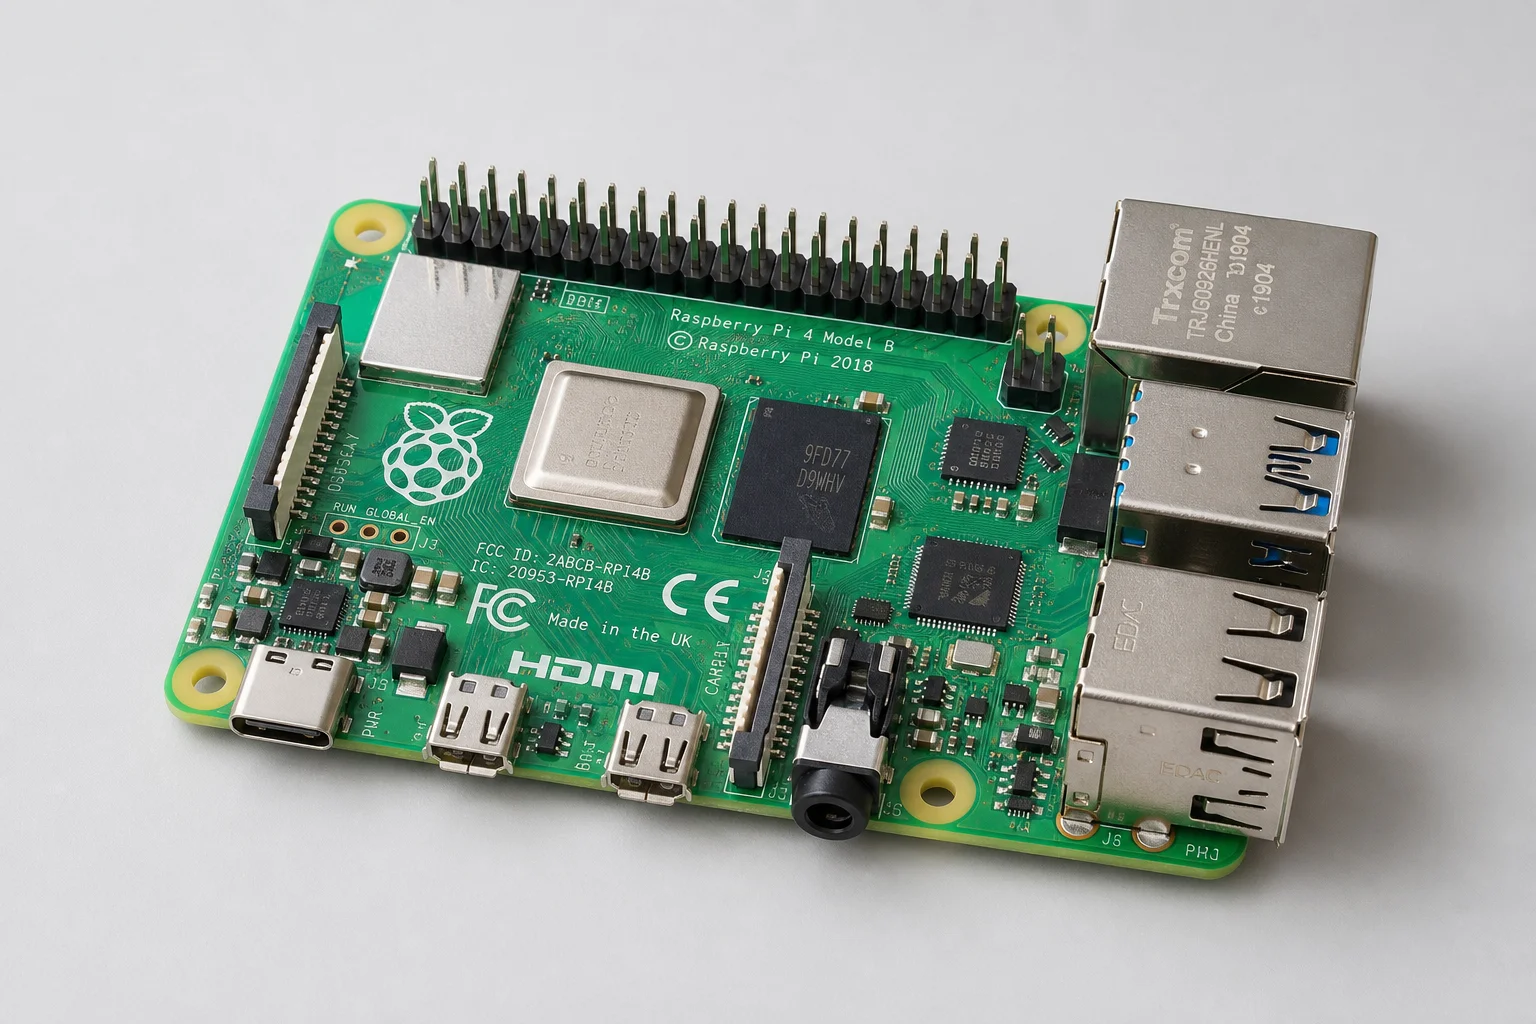
CaribouLite works with any Raspberry Pi that has a 40-pin GPIO header, but there is one important limitation: it does not work with Raspberry Pi 5. The Pi 5 includes an RP1 chip between the GPIO header and the CPU, which breaks the direct SMI connection that CaribouLite requires. For this reason, a Raspberry Pi 4 is the practical choice, and the 1GB model is sufficient and affordable at around 35 dollars.
When you first power on the Pi with CaribouLite installed, you will see a red LED and a 3.3V LED indicating power delivery. The board itself is compact and fits easily into standard Pi cases, though stacking additional hats like a Power over Ethernet module requires careful header management.
Installing Software and Tuning Signals
The installation process involves compiling drivers and applying two patches, which is somewhat involved but well-documented. Once installed, CaribouLite automatically installs SoapySDR, a tool that lets you stream radio data across your network to other computers or applications. This abstraction layer means you do not need specific drivers in every application for every SDR.
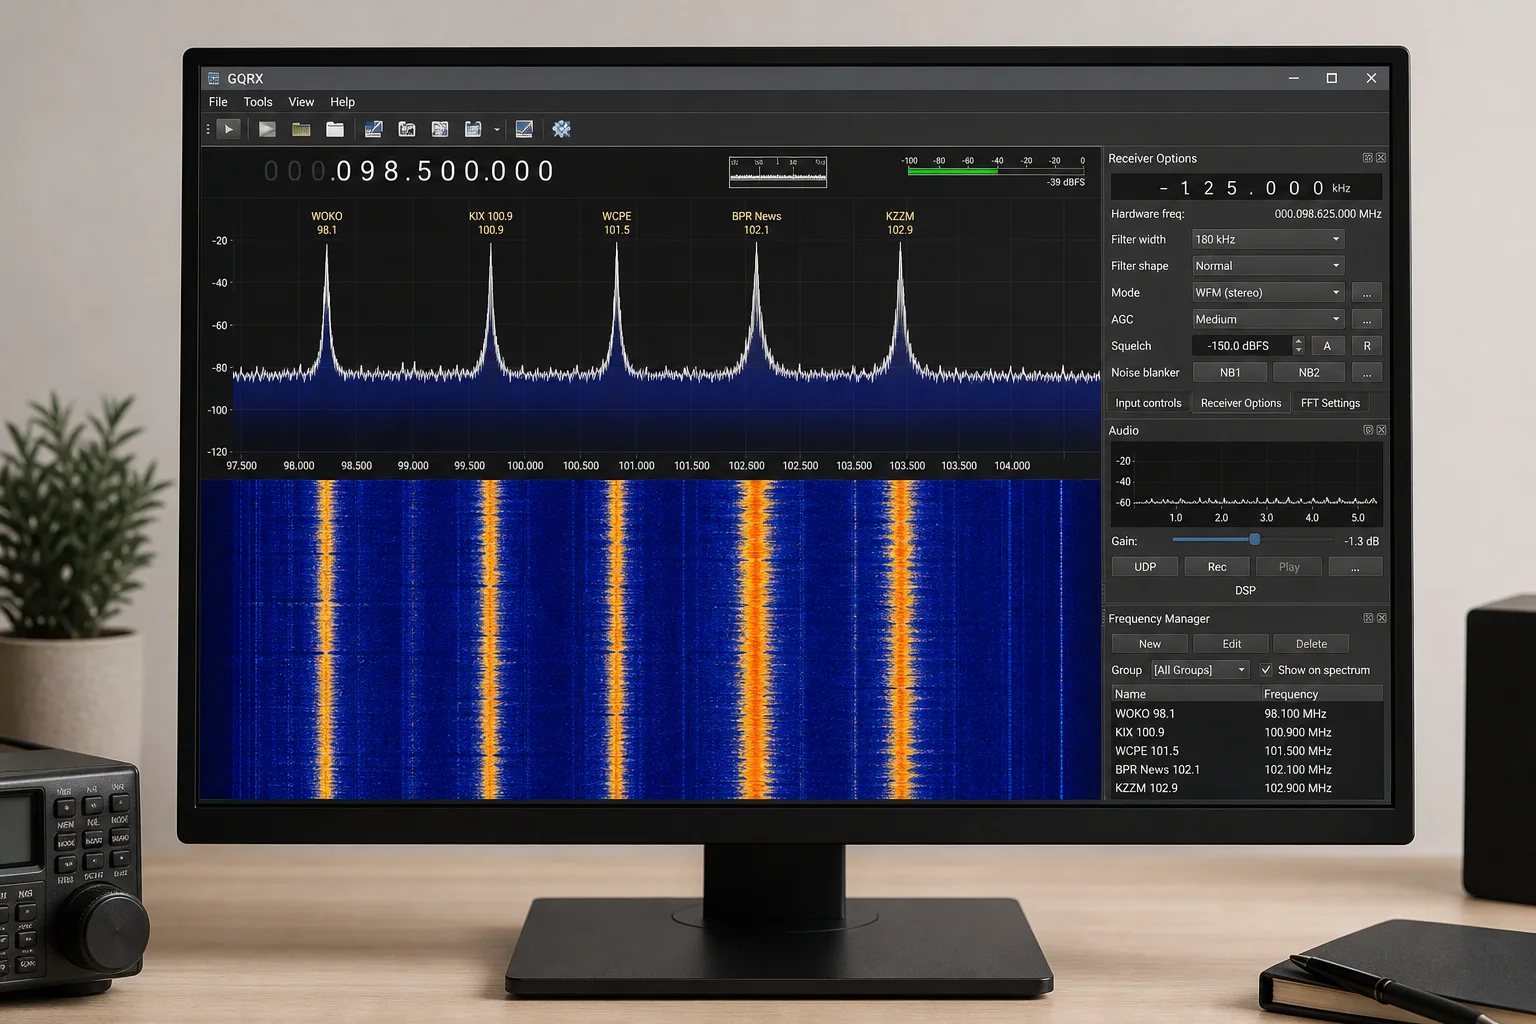
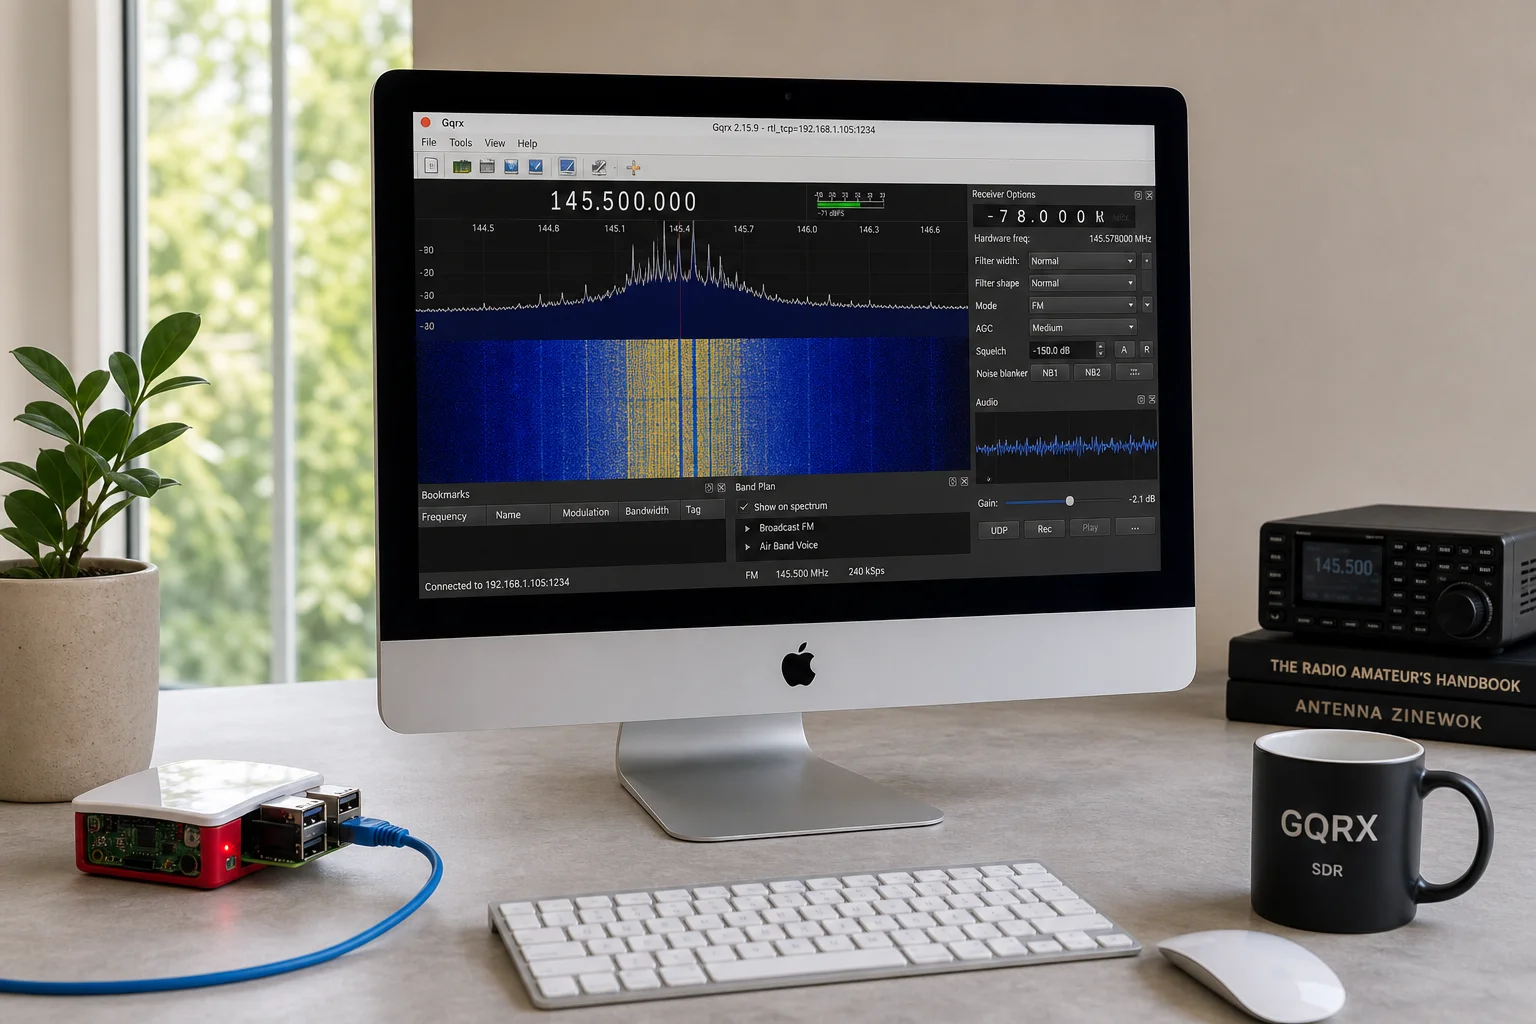
GQRX is the most universal SDR application, available on Mac, Windows, Linux, and Raspberry Pi. When you open GQRX for the first time, it shows a device configuration window where CaribouLite appears automatically if drivers are installed. The interface is dense with controls, but the core workflow is straightforward: select your frequency, choose a demodulation mode (FM, AM, SSB, raw IQ), and listen or record.
The main display shows the radio signal spectrum and a waterfall graph that displays signal history over time. You can tune by hovering over the frequency field and typing a value in megahertz, or by clicking and dragging the frequency bar. For FM radio stations, simply enter the station frequency (for example, 98.1 for a local station). For other signals like weather radio at 162.55 MHz or Wi-Fi channels at 2.4 GHz, the same process applies. The interface also includes receiver options for adjusting how signals are decoded and FFT settings for controlling the display resolution and sensitivity.
Antenna Selection and Frequency Range
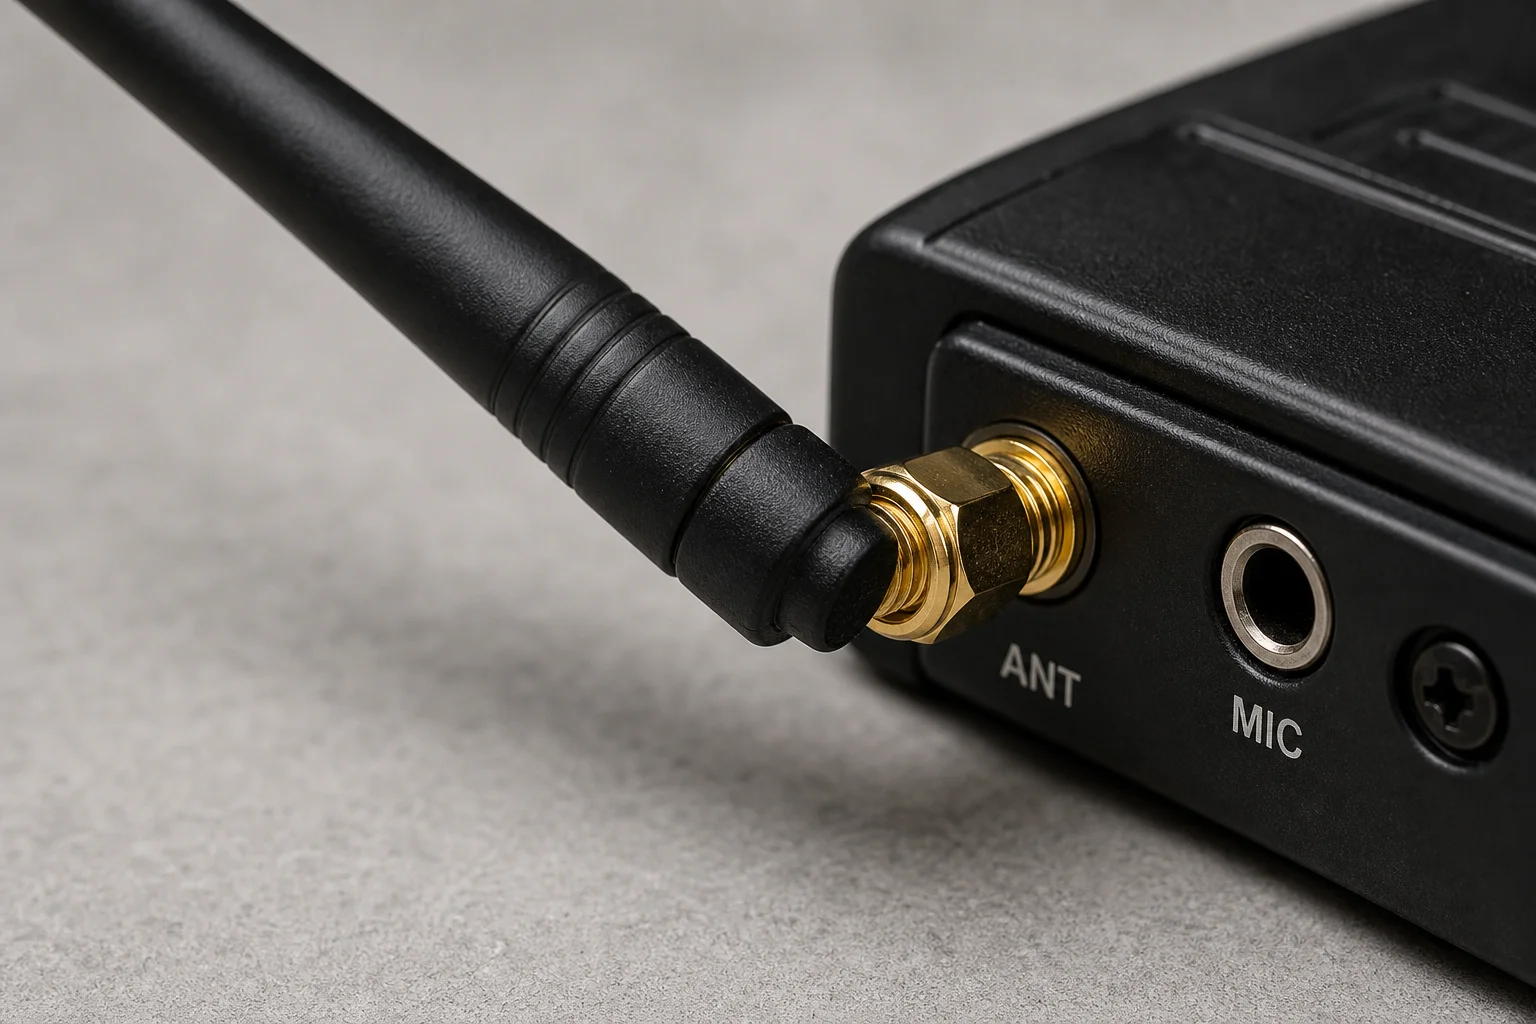
Antenna choice is critical for SDR performance. CaribouLite has two SMA connectors: one for high frequencies (30 MHz to 6 GHz) and one for sub-1 GHz frequencies. A short whip antenna works for initial testing, but a dipole antenna provides noticeably better reception for FM radio stations. The choice of antenna depends entirely on what frequencies you want to receive.
CaribouLite can theoretically reach down to 1 MHz, opening up access to AM radio, time signals like WWV, and many other low-frequency sources. At the high end, it can observe Wi-Fi channels and other signals in the 2.4 GHz and 5 GHz bands, though it lacks the bandwidth to decode Wi-Fi packets or 5G data. It is excellent for observing these signals and understanding their structure, even if full decoding is not possible.
Performance and Network Streaming
When streaming SDR data over your network using SoapySDR, expect data rates between 50 and 120 megabits per second depending on your settings. This means you should use wired Ethernet rather than Wi-Fi for reliable streaming. A Raspberry Pi 4 is more than capable of handling this workload; when streaming to a Mac, SoapySDR uses only a fraction of a single CPU core.
Running GQRX directly on the Pi itself is possible but less practical. The Pi can render the interface at low settings, but a headless setup where the Pi acts as a remote SDR server and sends data to a more powerful computer over the network is the better approach. This lets you place the Pi and antenna near your target signals while doing all the heavy lifting on a Mac, Windows PC, or other device.
GNU Radio also runs on the Pi and can be used to build custom radio applications or signal processing pipelines. As long as you avoid heavy GUI rendering or complex signal processing, the Pi has sufficient processing power for most headless radio tasks.
Building a Portable Rack-Mounted System
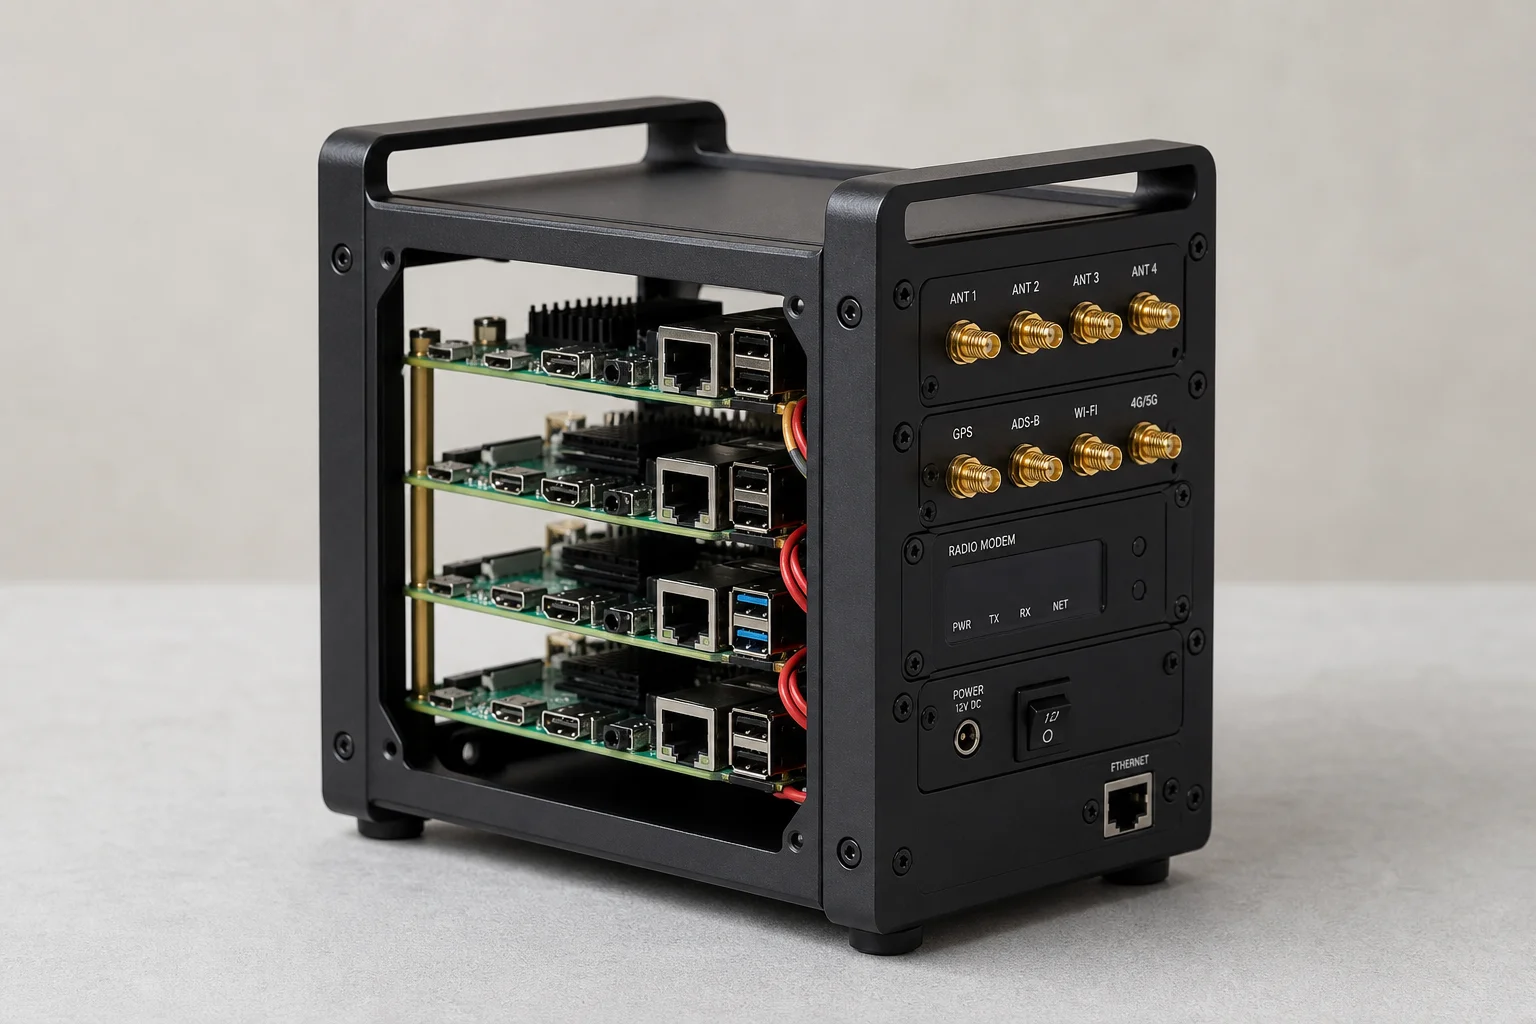
For a truly portable setup, mounting CaribouLite in a compact rack enclosure makes sense. A single Raspberry Pi 4 with a Power over Ethernet hat and CaribouLite can fit into a small lab stack module, eliminating the need for separate power supplies and keeping everything organized. Running SMA extension cables to a panel on the back of the rack lets you swap antennas without opening the enclosure.
One important safety consideration: if you plan to transmit using CaribouLite, always have an antenna connected to the transmit port. Without an antenna, transmitted RF power has nowhere to go and can damage the radio circuit. A dummy load is another option for safely absorbing transmitted power during testing.
Remote Access and Practical Use Cases
Once your CaribouLite setup is running in a rack with network access, you can stream to any computer on your network. GQRX uses zero-configuration networking (Bonjour) to automatically discover the remote SDR, making setup seamless. The key is ensuring Wi-Fi is disabled on the Pi if you are using wired Ethernet for SDR data, as simultaneous Wi-Fi and Ethernet can cause packet delivery issues that result in choppy audio or dropped data.
With this setup, you can explore local FM radio stations, weather radio broadcasts, mesh radio networks like Meshtastic, wireless microphone systems, and countless other signals. You can even decode digital signals like HD Radio sidebands using open-source software like NRSC-5. The visual feedback from GQRX makes it easy to understand signal strength, modulation, and interference patterns.
Conclusion
CaribouLite transforms a Raspberry Pi into a capable software defined radio receiver and transmitter. While it requires careful attention to hardware compatibility, antenna selection, and network configuration, the result is a portable, powerful tool for exploring radio communications. Whether you are building a stationary rack-mounted system or a portable field setup, CaribouLite opens up a world of RF possibilities that would otherwise remain invisible.
Further reading
Related Reviews
Tech Guides
Raspberry Pi Touch Display 2: Setup, Alternatives, and Real-World Use Cases
The Raspberry Pi Touch Display 2 upgrades to 720p and works seamlessly with Pi 5. We explore setup, limitations, alternative touchscreen options, and practical applications from home automation to car integration.