Hand Tools
Building a Carpenter Tool Belt Setup: 8 Tools Worth Knowing About
From budget leather aprons to a one-piece forged steel hammer, eight hand tools that turn a DIYer into a faster, more organized carpenter.
Introduction
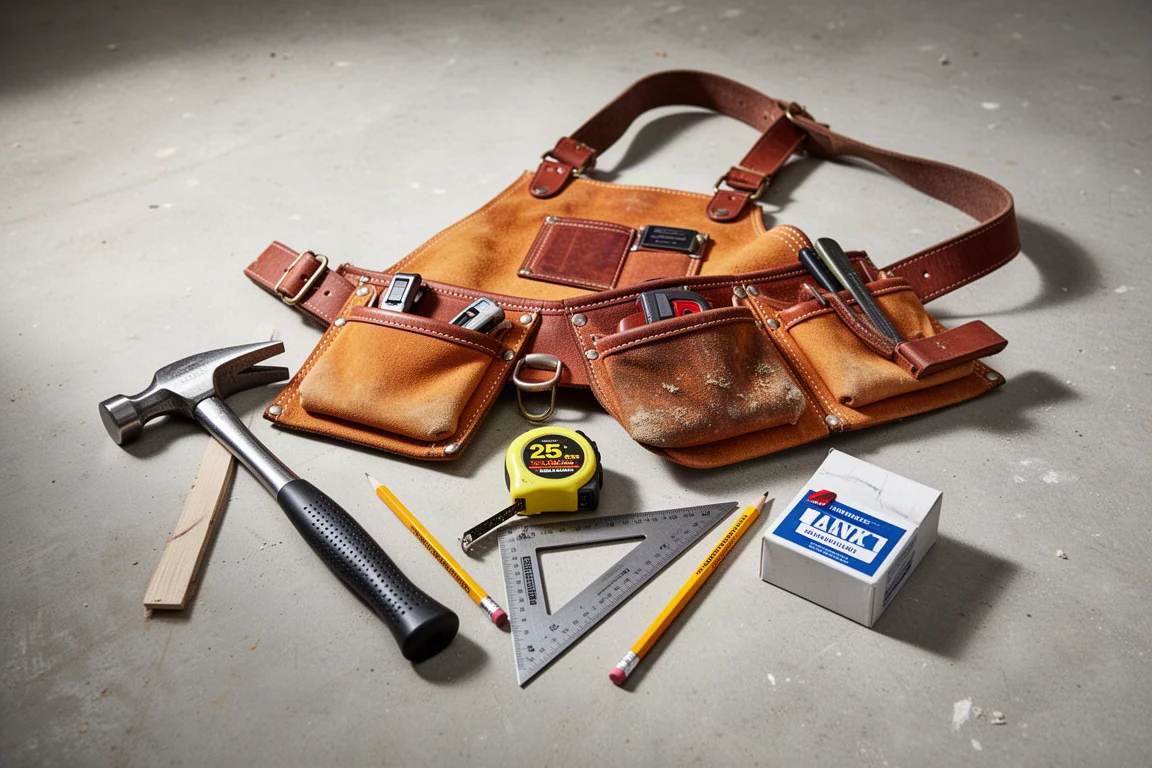
There is a noticeable gap between how a DIYer and a professional carpenter move through a job. The pro has every tool right at the waist: he knows where each one lives and where it goes back. The DIYer is constantly walking back and forth wondering where the tape measure went, where the pencil landed, and where the nails ended up. A good belt setup closes that gap, and it does not have to cost a fortune. A big-box starter rig can run around $109, while a decades-old pro setup of this type was built up over years for closer to $500. This list walks through eight tools worth knowing about, and where it makes sense to spend or save.
Why a Belt Setup Matters
The single biggest difference between a pro and a DIYer on a job site is not skill with a saw. It is organization. When your hammer, tape, pencil, knife, and square all ride on your hips, you stop losing time and start losing excuses.
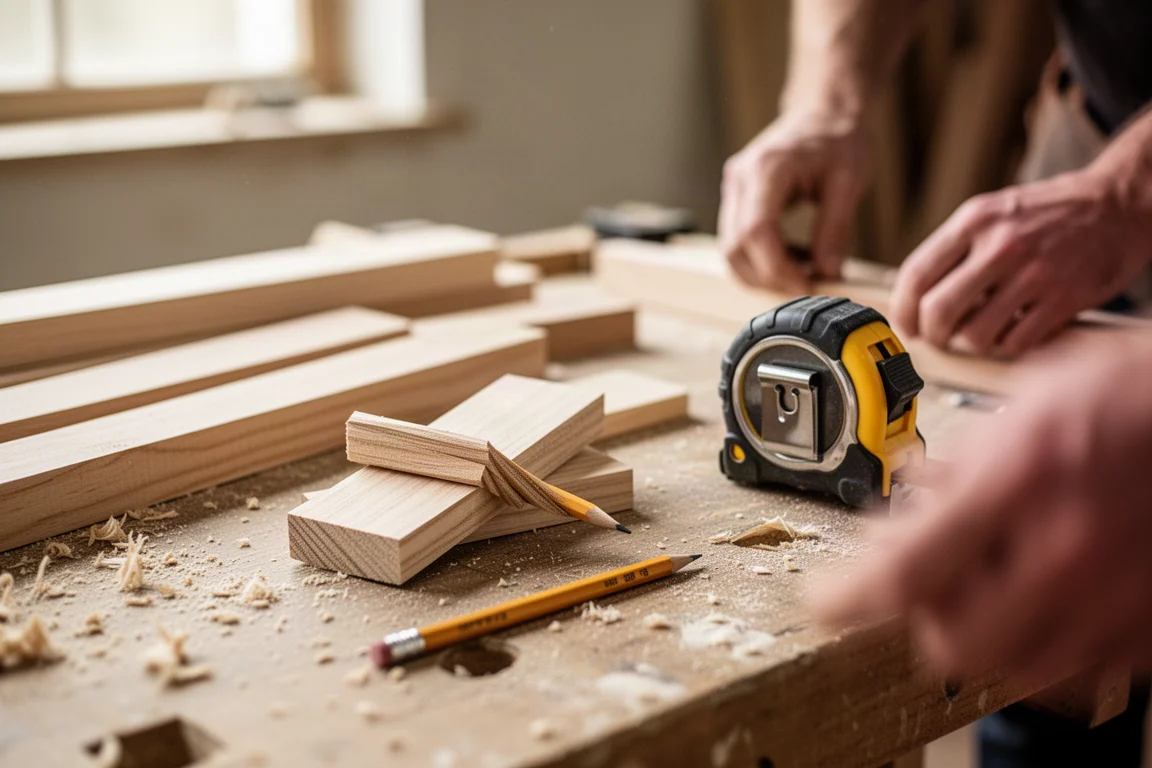
That said, you do not need to buy everything at once, and you definitely do not need to buy everything brand new. Second-hand stores and pawn shops are a legitimate way to save money and sometimes land a better-quality tool. One second-hand haul that included an apron, a hammer, a chalk box, a chisel, a speed square, a tape, and a knife added up to roughly $30 to $36.
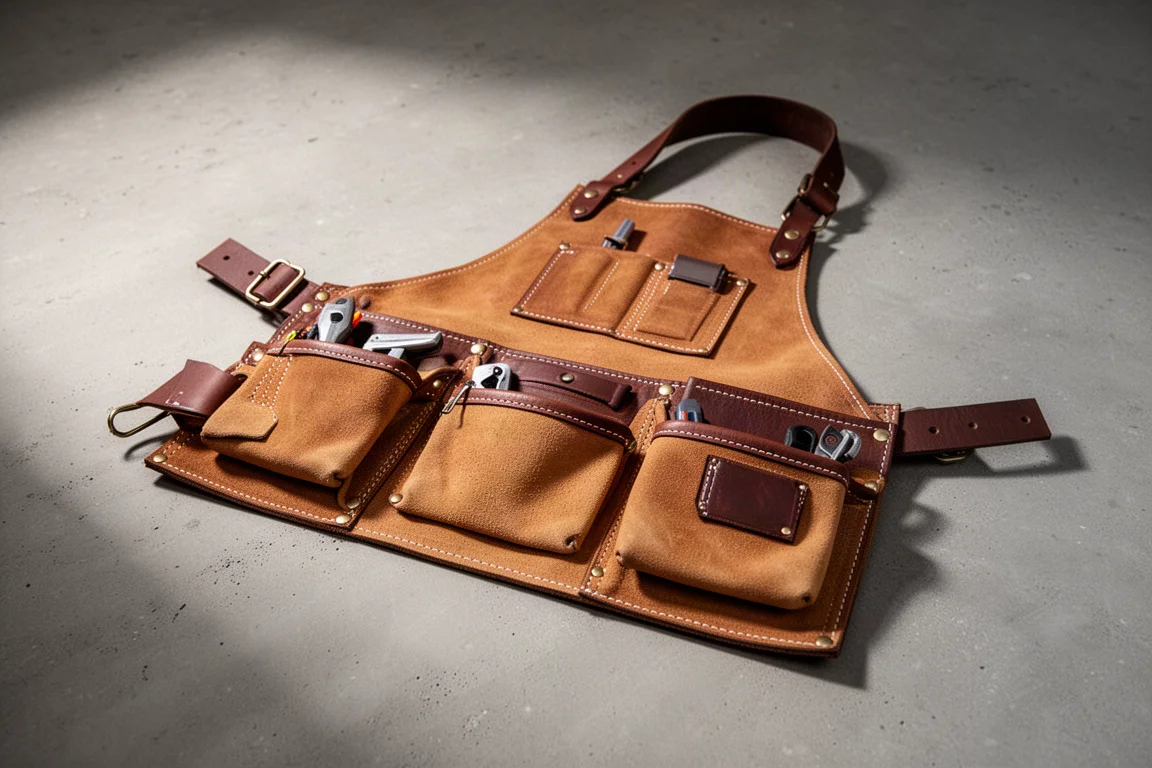
Kobalt Leather Tool Belt Apron
The bag itself is the foundation. The Kobalt apron from Lowe’s runs about $40, it is leather, and the stitching looks solid. It is an apron style rather than full bags, so everything rides in front of you. On a daily professional job site, you might get around three years out of it before tearing it apart. For a DIYer, it should last far longer, unless a teenager borrows it and never brings it back. It is a perfectly adequate starting point, especially if you prefer leather to nylon.
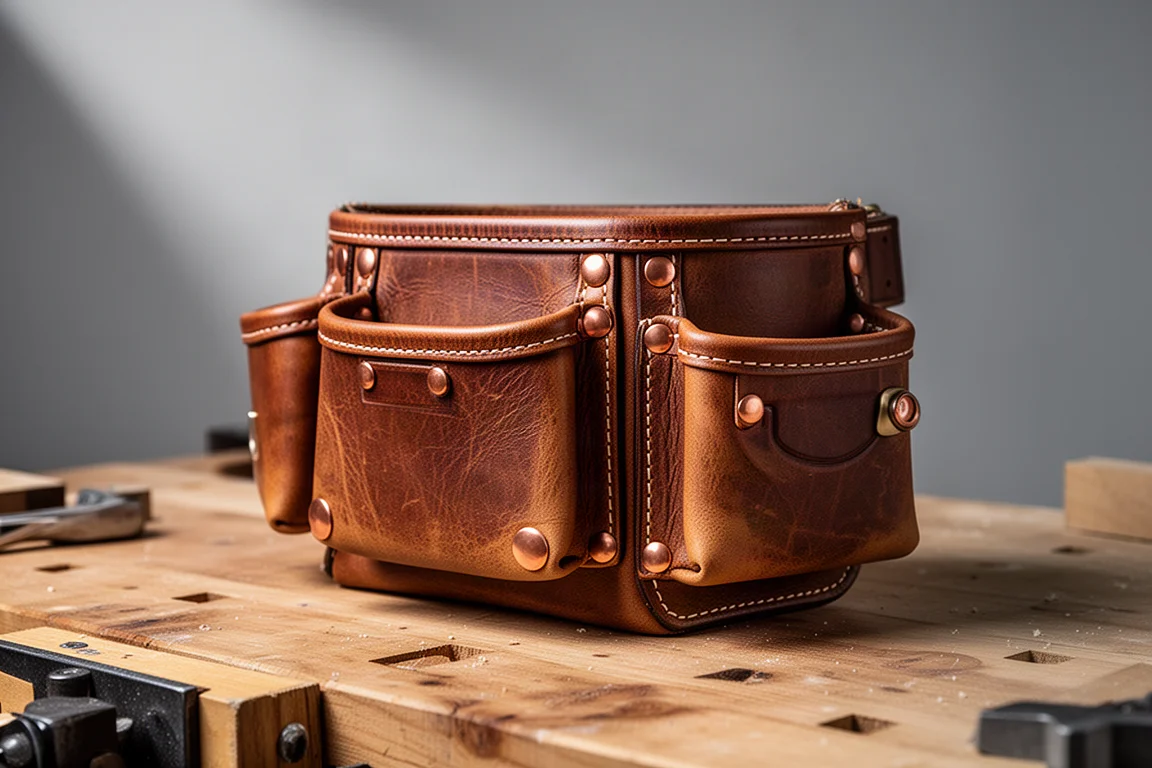
Occidental Leather Buckaroo Belt Bags
At the other end of the spectrum sit the Occidental Buckaroo belt bags, the kind of rig a carpenter might buy once and use for the rest of a career. One well-used set has been in service for 25 years, longer than any other set its owner ever ran, and it has become an extension of how he works. There are real reasons to spend three, four, or five hundred dollars on a rig like this, and also real reasons not to. If you do a lot of work, comfort and durability compound over decades.
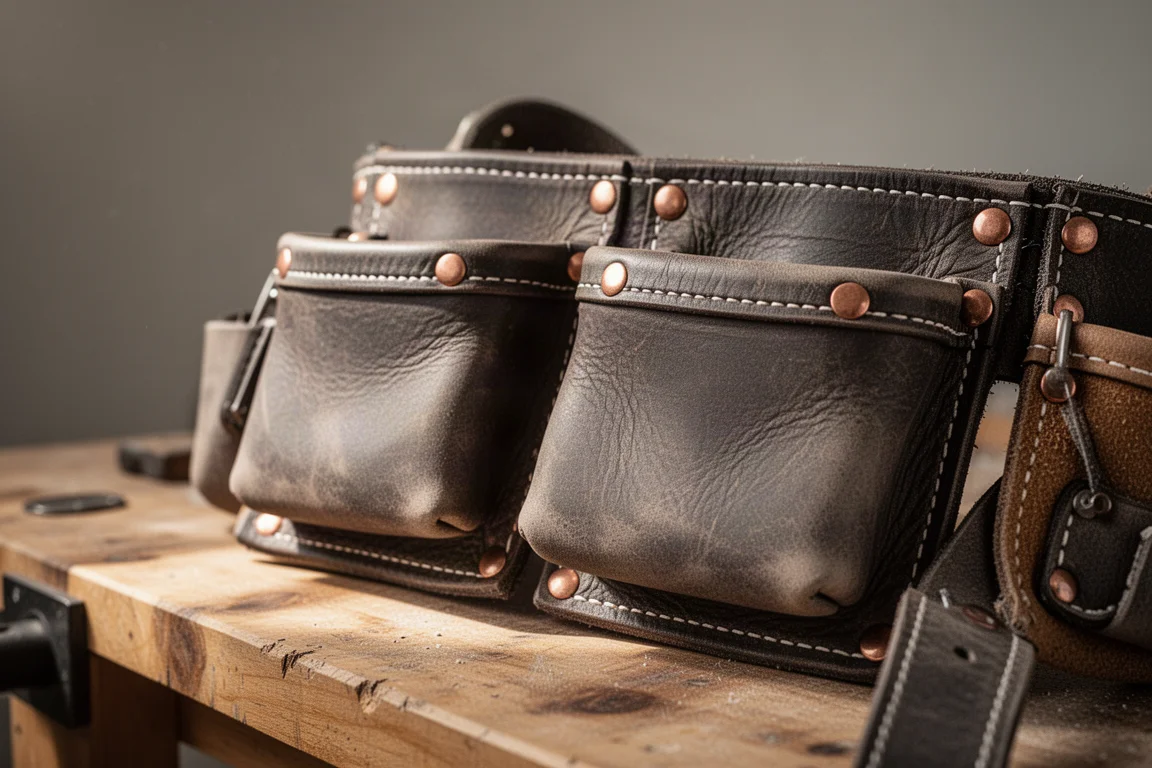
Front mount or side mount depends on the work you do. For a DIYer, even a simpler bag setup will noticeably speed you up. The key point is that your rig is part of how you show up: worn, riveted leather reads as experience, and brand-new bags read as a trainee.
Chalk Lines: Irwin and Tajima
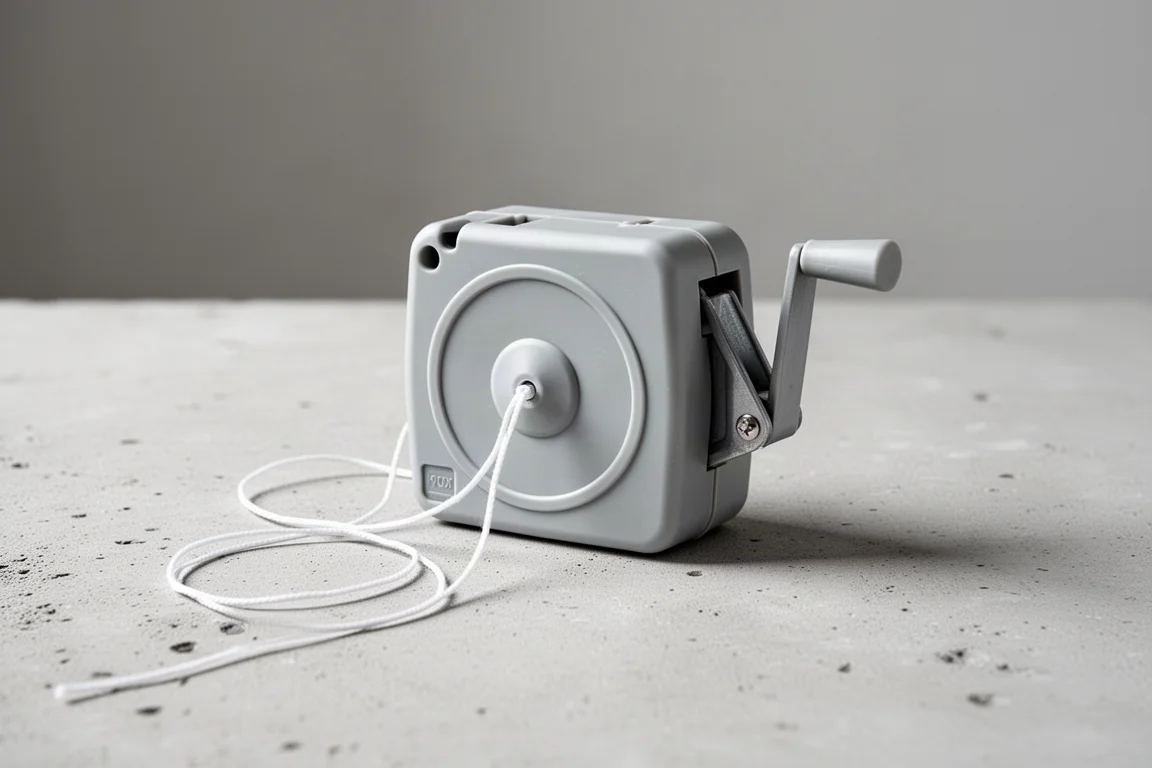
A chalk line solves a problem a straightedge and pencil cannot. You cannot easily mark a straight line across something 16 feet long, you cannot do it vertically, and you cannot do it on carpet. With white chalk in a new box, you can snap a line on carpet or a bright white line on drywall and simply brush it off, leaving no stain.
One caution worth burning into memory: red and black chalk are indelible. Never carry red chalk inside anyone’s house, never snap it on concrete that will stay visible, and keep it off concrete forms unless you want the mark to telegraph onto the finished surface.
There is also a classic beginner mistake with a new chalk box. Do not pump it full of chalk on day one. Pull out about 30 feet of line, add just a couple of tablespoons of chalk, reel it up, then repeat with a little more. Work up gradually and the box will carry you to lunchtime without jamming.
Irwin Straight-Line Chalk Box
The Irwin straight-line chalk box is the budget pick, likely the least expensive option on the shelf. It will get the work done. Think of it as the dependable economy choice next to pricier boxes.
Tajima Chalk Box
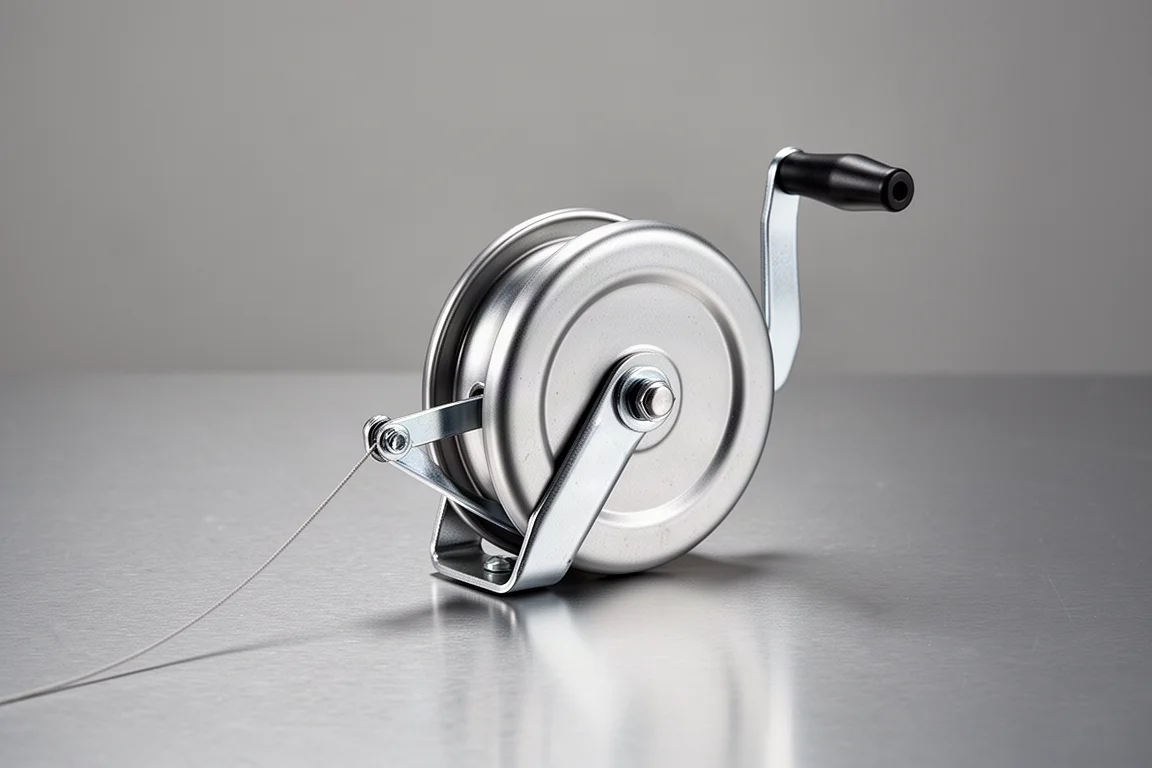
The Tajima is the premium comparison, the sort of box a friend passes along once they know you are serious. Many chalk boxes double as a plumb bob: hang them straight down, and gravity gives you a dependable vertical reference. Some have a pronounced point at the bottom for a very precise plumb reading. The Tajima is not quite that style, but it remains a two-tools-in-one carry.
Estwing 16 oz Smooth-Face Hammer
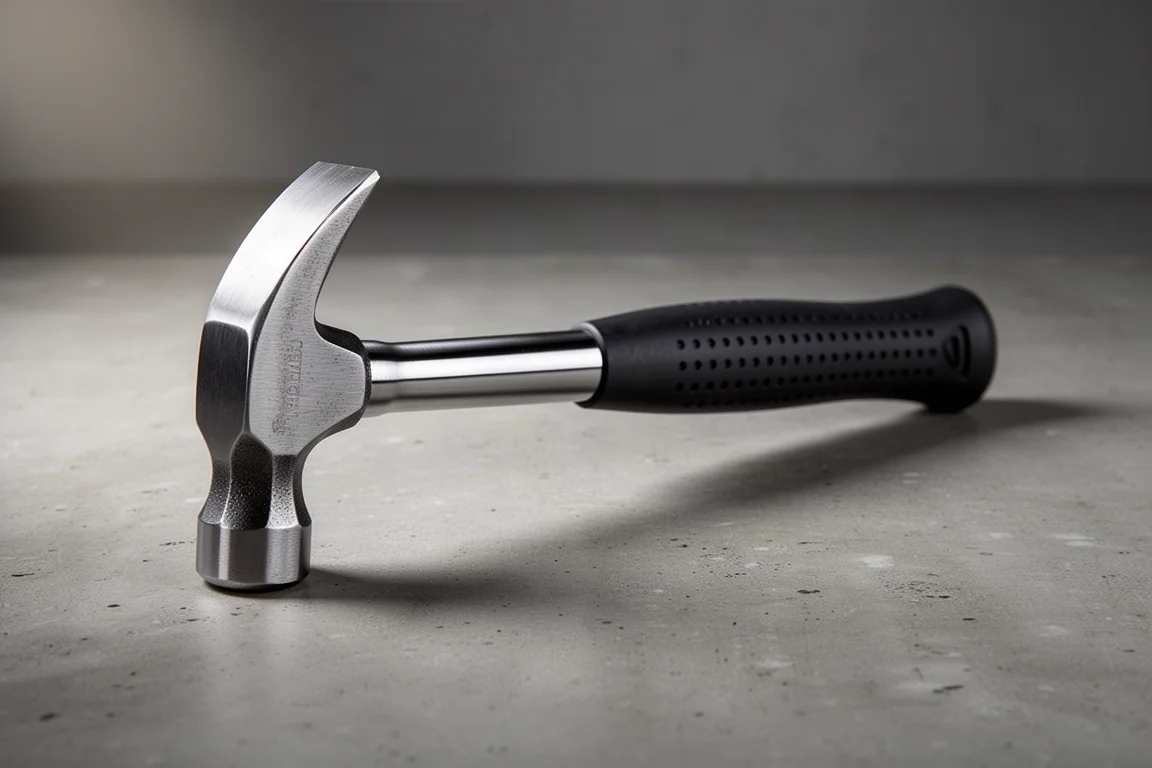
If you are going to be a carpenter, you will be identified by your hammer. The Estwing 16 oz smooth-face is a good all-around hammer for finish work and moderate tasks, though a framing crew would laugh at the size. For a beginner it has one huge advantage: it is one-piece forged steel, so you cannot tear a wooden handle out of the head trying to pull a nail. You simply cannot break it. A 22 oz Estwing used for form work has survived 20 years of hard service, and examples get passed down through generations.
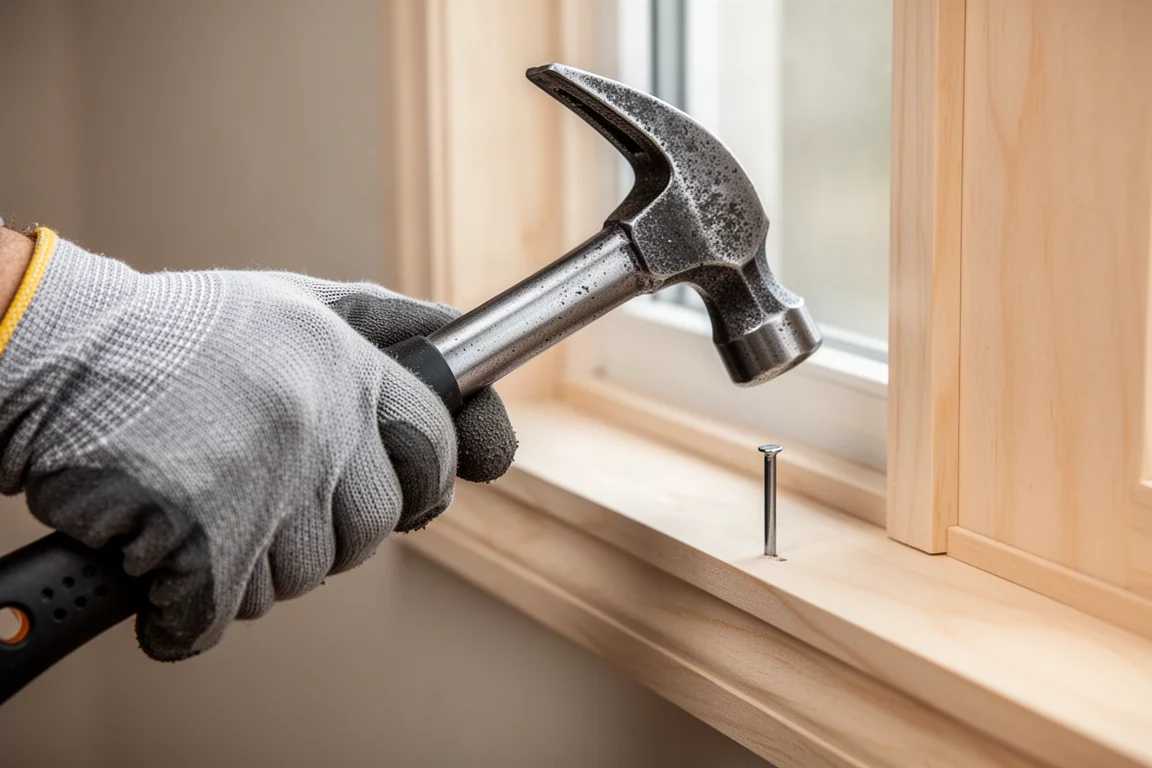
The narrow steel neck looks odd if you have never handled one, but you never need to choke up that far. Choking up on the handle gives you control for lighter blows, and the swell at the end tells you where to stop when you do need to swing for the fence.
Stanley FatMax Tape Measure
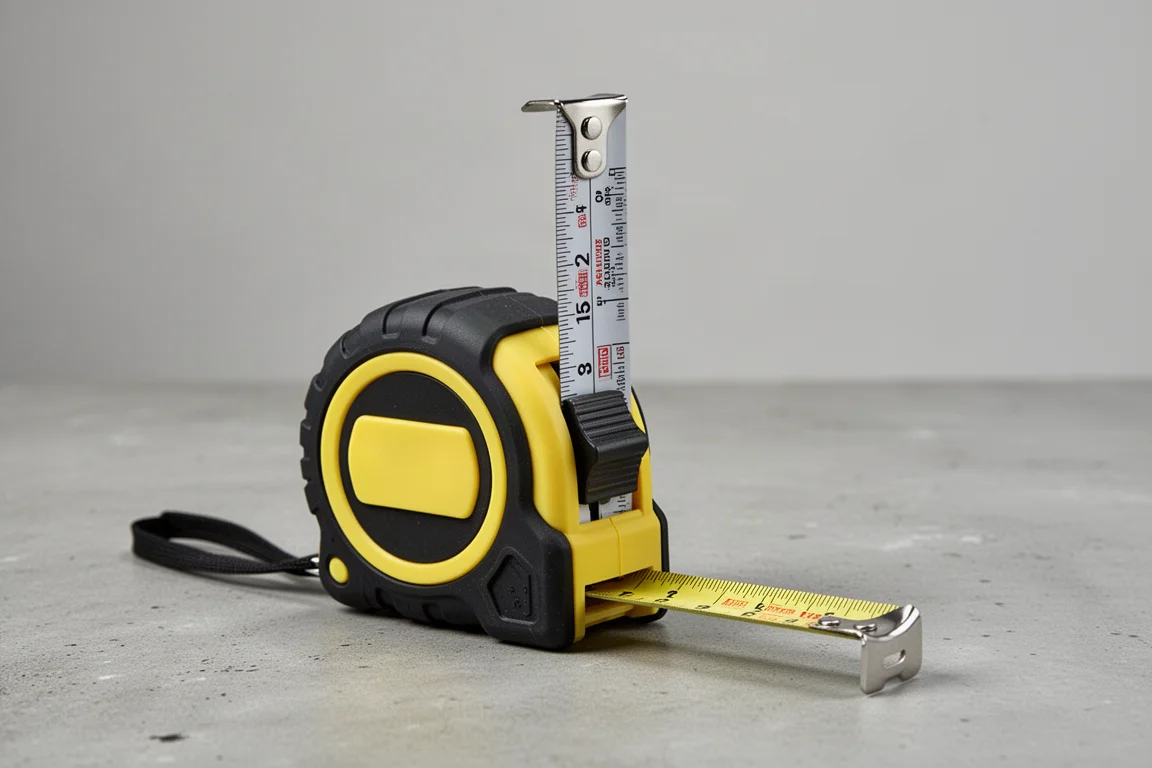
A tape measure that stands out on its own is a genuine productivity tool. If you will be framing off the ground, you need a tape that will stand out at least 7 feet like a standard 1-inch Stanley. The FatMax will stand out around 11 feet. The budget pick here is a 26-footer with a lock feature, meaning you have to tell it to come home instead of just letting go. It is not everyone’s style, but at around four or five dollars it is probably worth every penny for a while.
Jorgensen 3/4-Inch Chisel
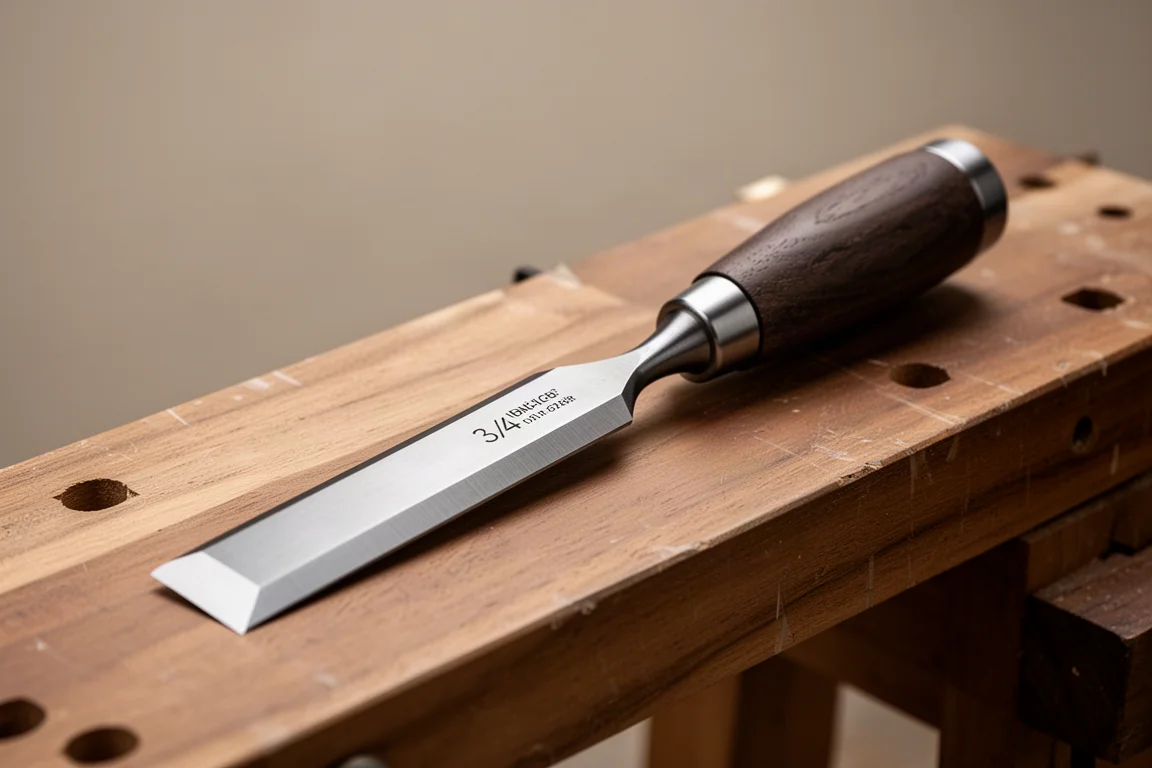
A chisel earns its place in a modern belt far more than people assume. It is not just for stereotypical craftsman work. The Jorgensen 3/4-inch is a good starting width, and the longer blade doubles as a little pry bar, a shim, and a scraper. The only way to wreck one, short of losing it, is to overheat it while sharpening. If the steel turns yellow, bronze, or blue on a mechanical sharpener, you have hurt the temper. Sharpen with a file, a stone, or very carefully with a grinder.
Swanson Speed Square
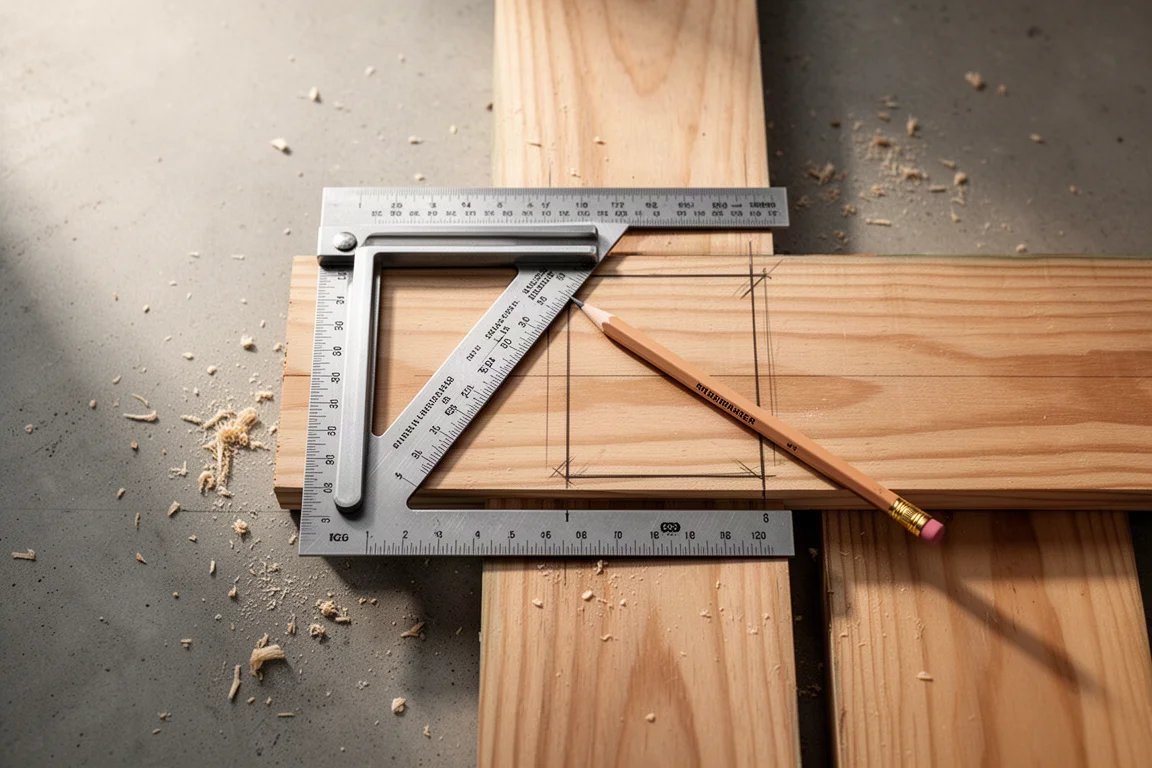
Every carpenter’s setup needs something that gives a square line, and a speed square is the classic answer because it slots right into the side of most bags. The Swanson speed light version runs around $4.50. It is a name brand, but it is plastic. It will do a lot of work, though it does not store in an apron very well. A metal speed square runs more like $10 to $12, and some aprons include a sheath holster where a try square or combination square can ride instead. Figure out what fits your rig.
Overall Buying Advice
Three paths get you to a working belt. The big-box new route costs around $109 and is adequate. A full premium rig approaches $500 over years of careful buying. The second-hand route, hitting pawn shops and second-hand stores, delivered a complete setup for roughly $30 to $36: an apron for $10, an Estwing hammer for $8, a chisel for $3, a knife for a dollar, a chalk box for a dollar, and a speed square for $3.
There is real value in not owning only brand-new tools, and real value in buying tools good enough to last. Start looking before you need the tools, not the weekend before a Monday start date. And remember that you will be judged by the look of your rig, so decide whether you want to look experienced, look like a trainee, or split the difference.
Conclusion
A belt setup is less about the money and more about intention. Whether you spend $109 at the big box, $36 at the pawn shop, or $500 over a career, the tools that ride at your waist decide how smoothly the job goes. Pick leather you can live with, a hammer you cannot break, and a square and tape that stay put, then focus on the part that actually matters: doing the best job you can and looking back at the end of the day knowing you built that.
Further reading
Related Reviews
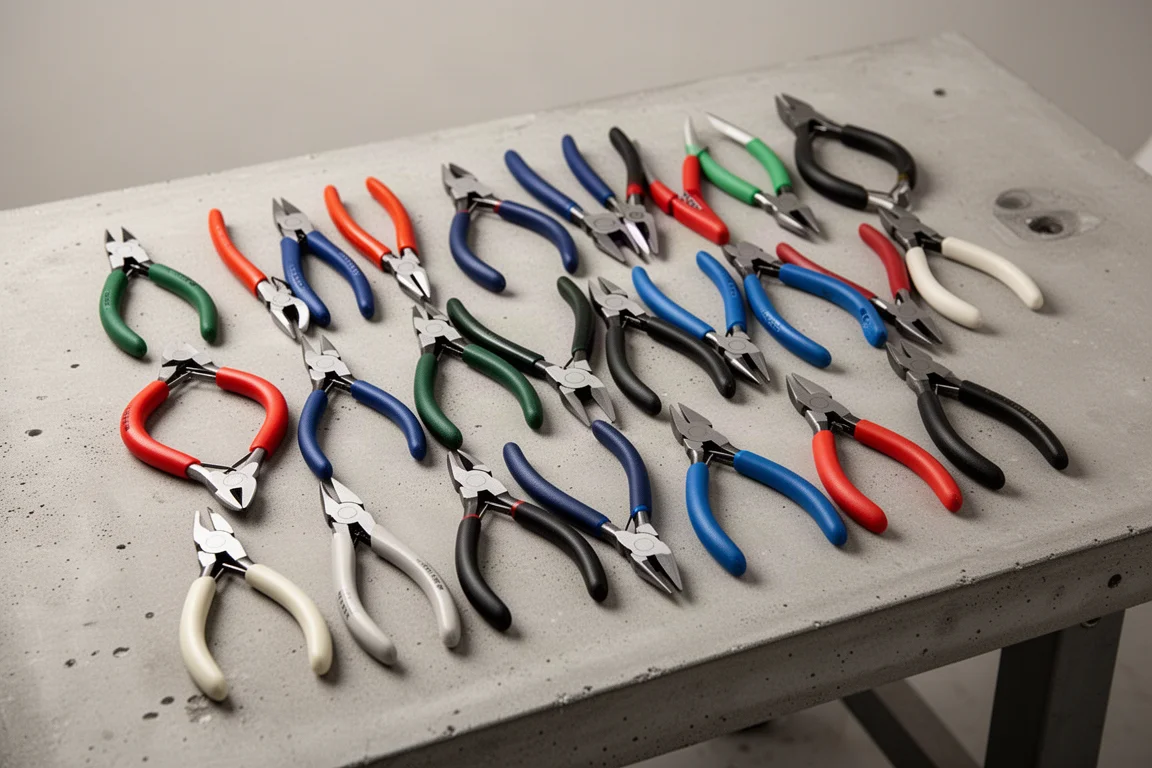
Hand Tools
Best Diagonal Cutters 2026: 16 Pliers Tested for Cutting Power and Durability
We put 16 diagonal cutters through nail, screw, drill bit, and hex key tests to find the best value picks for your toolbox.
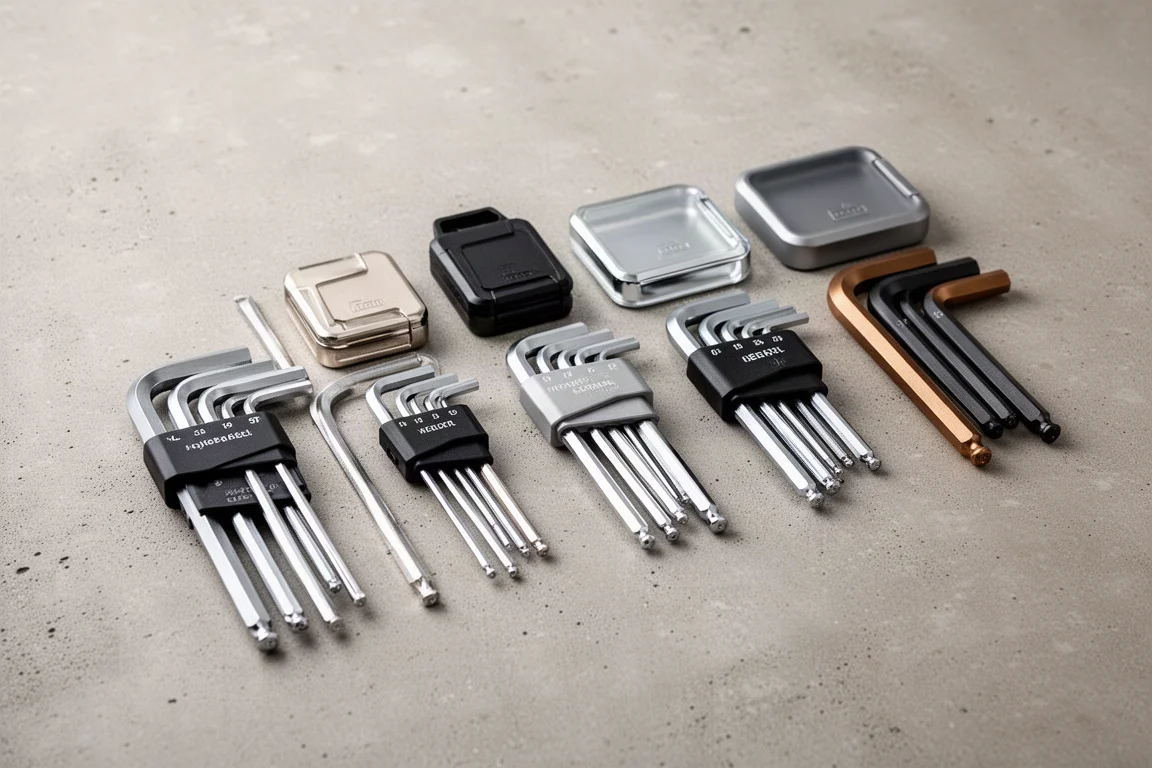
Hand Tools
Best Hex L Key Sets 2026: Nine Sets Tested for Real-World Torque
Nine hex L key sets from budget to premium, tested for torque, fit, and durability. See which sets deliver real performance and which ones to skip.
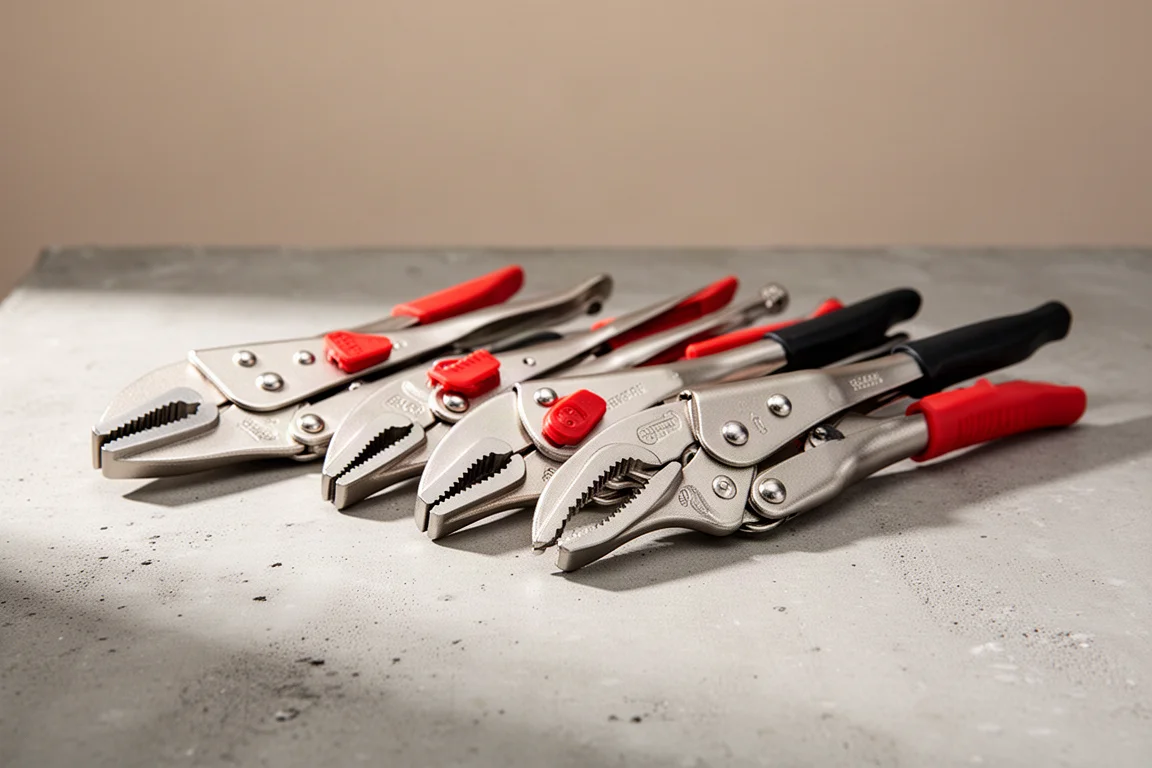
Hand Tools
Best Locking Pliers 2026: Top Picks Tested for Grip and Durability
We tested 18 brands of 10-inch locking pliers for grip strength, jaw bite, build quality, and ease of release to find the best options for tough jobs.